When I think of England, I think of scones!! The two just go together just like Malta and Pastizzi! Kevin and I are not planners!! We knew that from the get go. He proposed over the phone on New Year’s Eve and we were married in March! We did not even have any idea where we were going to live We tried Malta for a month and when that didn’t work out, we thought we’d see if England would be a better match.
We packed few bits in a suitcase, boarded Air Malta and all we knew was that we’d be landing in Heathrow in three hours!! We winged everything else after that. It was a beautiful May day and all I kept thinking was “WOW!! I can do this!!” “I can live in England!” “Why does everyone complain about the weather!” “What a beautiful place!”…as we drove our little rented car from London to???? It was one of the best days ever!! Just married…beautiful day…with the excitement of what lies ahead! Whatever it was, we were going to make it work!

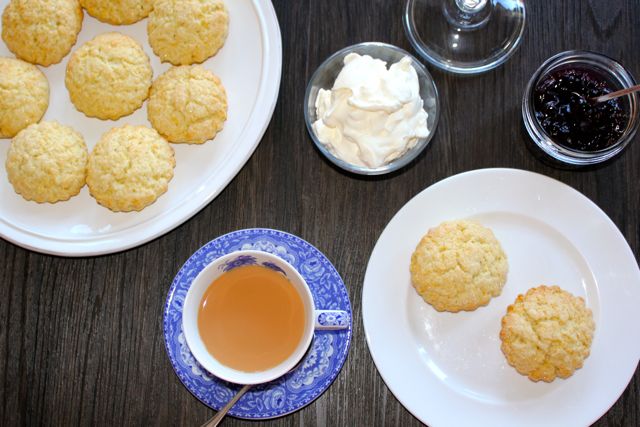
There were a few places we passed along the way that were possibilities and I still wonder what would’ve happened if we’d laid our hats in Somerset or Bath. But we kept on driving until we could drive no more! Plymouth Devon!! Doesn’t Devon just shout out Cream Teas and Scones? We got out of the car on Plymouth Hoe and the view of The Sound with clear blue skies is still exhilarating to me to this day. We both fell in love with The Barbican and the little shops and restaurants and decided that it was the perfect place to start our new lives together. Found a flat to rent across the street from a Greek Restaurant and made it our home! It was the stinkiest and had the most godawful decor, but it was perfect! And that was where I had my first Cream Tea experience!! A little place called Tudor Rose Tea Room Just the whole teapot and cup and scone and jam and cream and mix it all up and you feel like the queen!
So of course, since then, I’ve been looking for the perfect scone recipe. I’ve tried making them with milk/buttermilk/sour cream and cream and my kids and best critics have confirmed that this recipe is one of the best ones…YET!! I have my friend Rose to thank for sharing her recipe AND scones with me!
Scones are very simple to make and are pretty much fool proof if you follow these easy steps. I suggest you don’t use your stand mixer for this recipe and make them by hand because the less you handle the dough, the better.
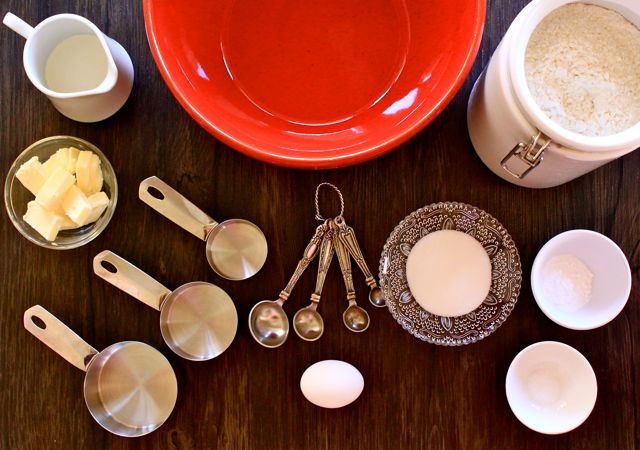
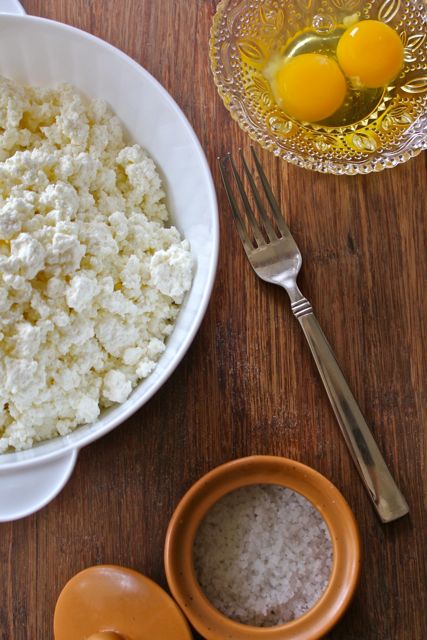
Ingredients
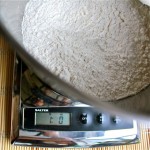
- 1 1/2 cup all purpose flour
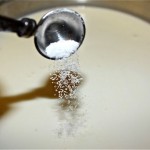
- 1/4 cup sugar
- 2 tsp baking powder
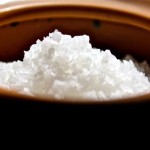
- 1/4 tsp salt
- 1/4 cup whipping cream
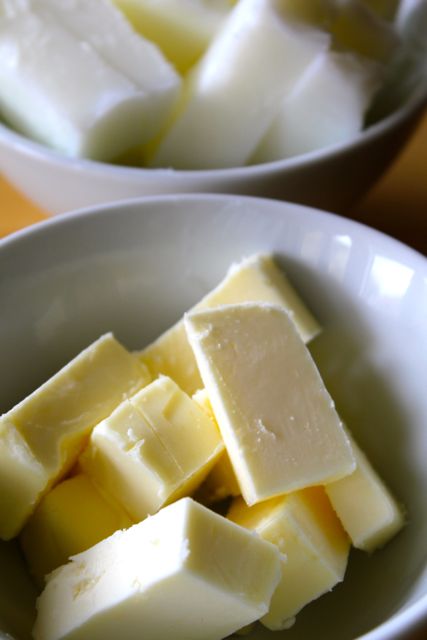
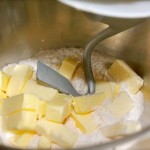
- 6 tbsp unsalted butter
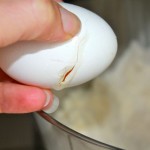
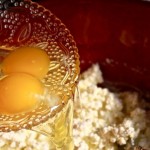
- 1 beaten egg
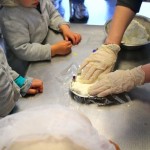
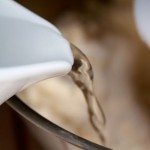
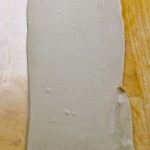
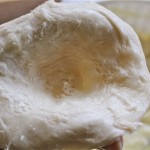
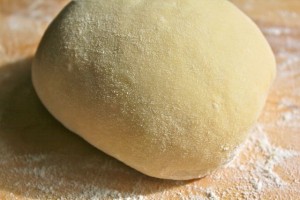
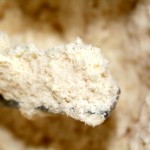
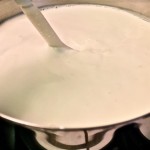
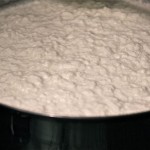
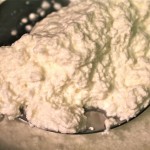
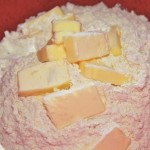
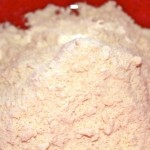
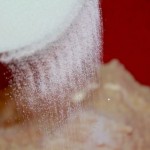
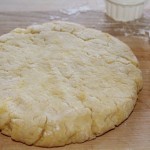
Using the rubbing in method, combine and flour and butter and salt and work it until it looks like bread crumbs. Mix in the sugar. Put a well in the middle and pour in the cream and eggs and very lightly, bring the mixture together until just combined. Let it rest for about half an hour.


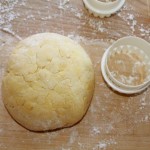
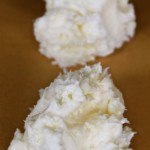
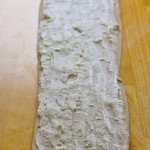
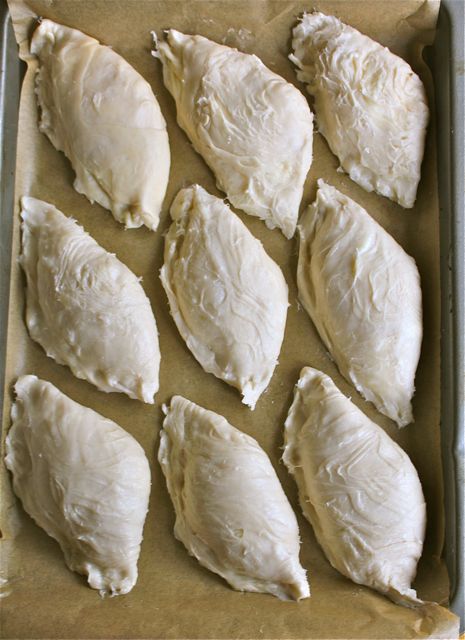
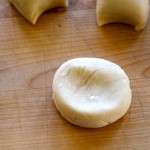
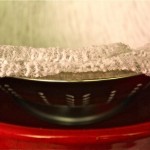
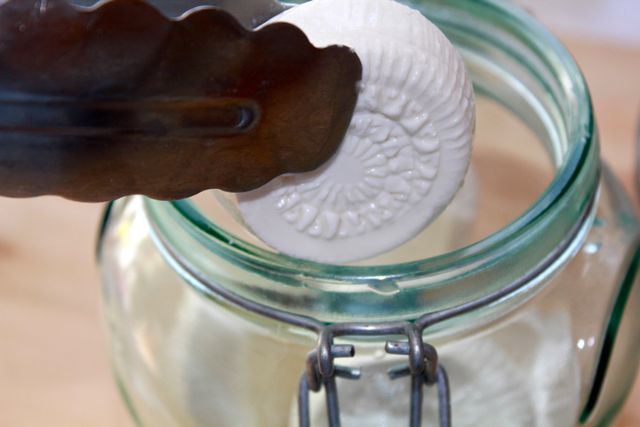
Also with your hands, pat the dough down to about 1 1/4″ thickness. Using your scone/biscuit cutter, cut out and place on the prepared dish.


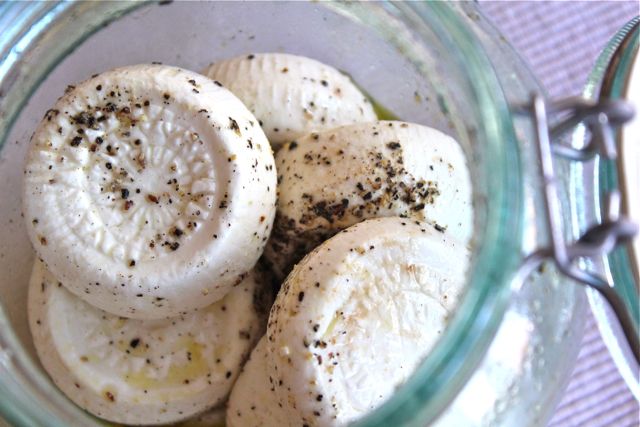
Bake at 375 for about 18 mins until golden.

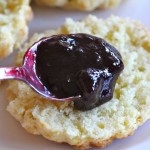
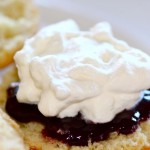
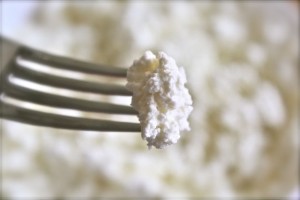
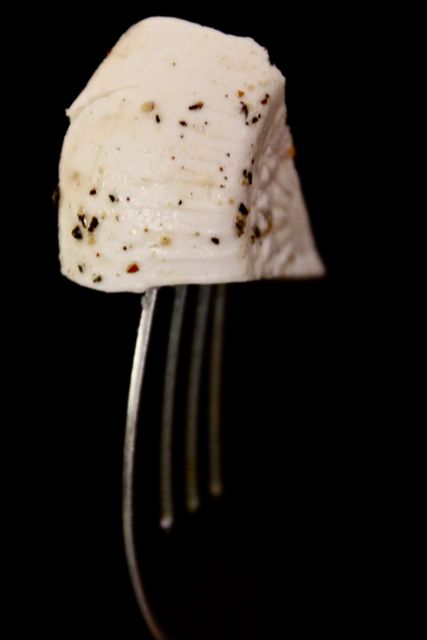
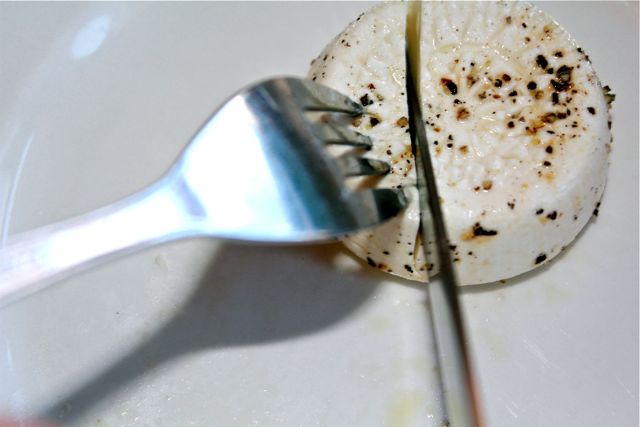
Serve with jam and cream and tea of course…