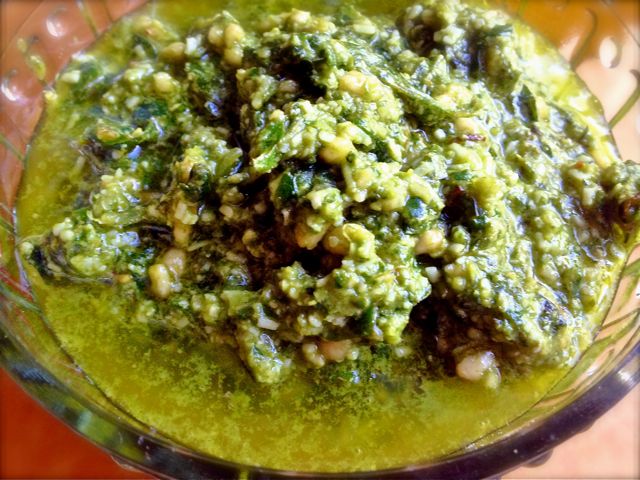
Pesto needs no introduction in any Mediterranean kitchen. It is definitely a staple in my pantry as it is so easy to whip up a quick meal when you in a hurry.
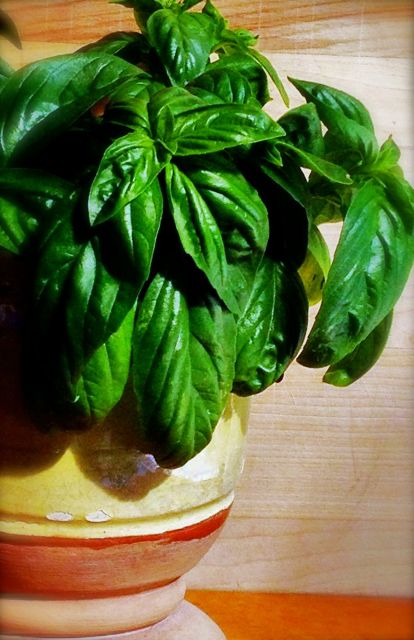
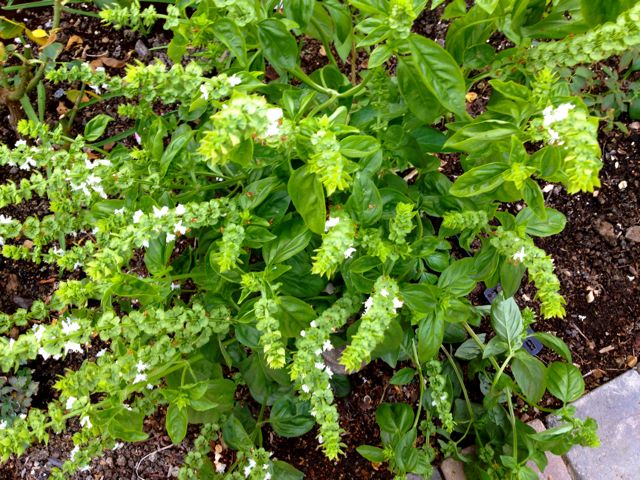
I usually grow basil in a pot just so I could place it in my bay window and have it be easy to access while cooking. I find that it would get root bound too fast this way and start turning yellow in a matter of weeks, so this year I decided to grow them in between my rose bushes and let them grow freely. And wow, did they like this so much more!!
There are many ways to make pesto…with cheese, without cheese, with pine nuts or walnuts, with basil or parsley…so use whatever you have and adjust or substitute to your taste.
Ingredients
2 cups fresh basil leaves packed
1/2 cup grated Pecorino Romano cheese
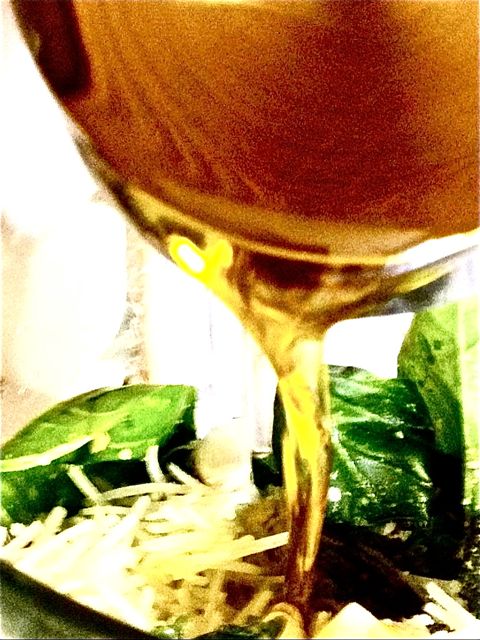
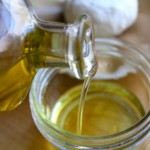
1/2 cup extra virgin olive oil
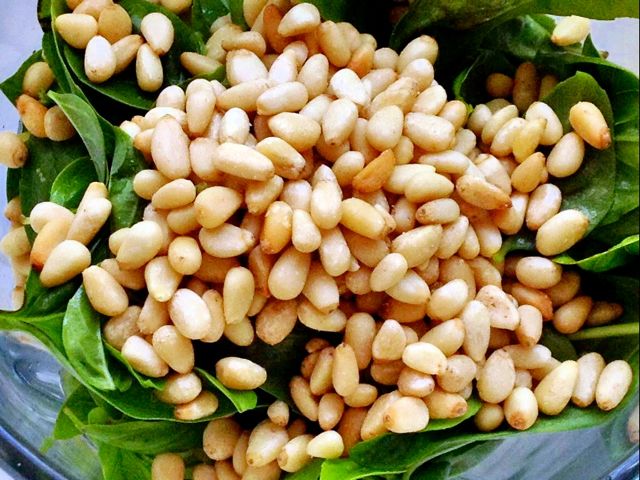
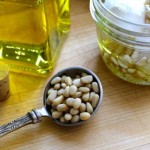
1/3 cup pine nuts
3 medium garlic cloves
salt and freshly ground pepper
Combine the basil and the pine nuts and pulse a few times in a food processor.
Add the garlic and cheese and pulse a few times more.
Pine Nuts
Slowly add the olive oil in constant stream while the processor is on. Stop and scrape down the sides of the food processor.
Extra Virgin Olive Oil
Add salt and pepper to taste.
Serve with pasta, baked potato or spread on your favourite sandwich.
Last weekend we went to Petaluma. We’d only been talking about going for about four years! But now that the kids are older and can be trusted not to burn the house down, well, we thought an overnight stay, just the two of us, would be a good thing.
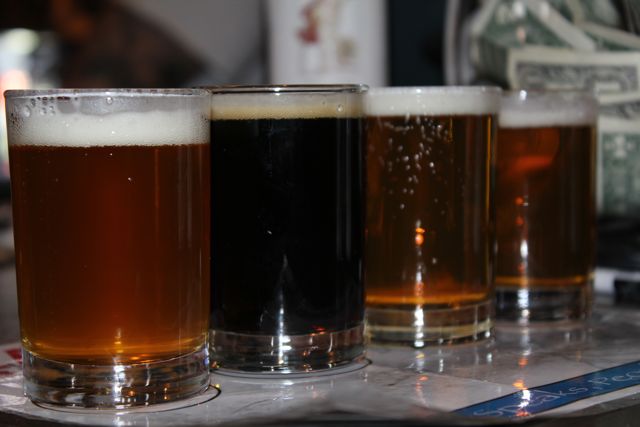
Lagunitas Sampler
What made the occasion a must this time round, was that it was Kevin’s b’day. His wish was to go to his favourite brewery in the whole wide world and as luck would have it, it’s only a couple of hours away. So, just like I celebrated my b’day with my favourite goats, it was only fair that he should celebrate it with his favourite beer!
Having lived here for so long, I’m still surprised at how much there is still left to see and experience! I was totally delighted by what Petaluma had to offer. Nobody has ever said that this place is a must see, so my expectancies were kinda low. Besides, I honestly thought that the whole weekend was only going to about beer and more beer. But when we started walking around town and saw the cute little antique shops and people just lapping up the sun outside the charming Bistros, I wanted to stop and savour every minute. We couldn’t have asked for a more beautiful day either. The sky was blue and the air was warm…and what was that???? Is that French I hear??
Bistro
French Icons
French Icons
French Folks
Faux French
Faux French
Cherry Blossom By Mill
Boats
Little Square near Town Centre
Sacre Bleu!! It was!! It seemed to me that for the most part, the locals were actually french! I could catch snippets of french conversations going on at every corner and bar! And with French music playing in the air and french decor in every restaurant, I felt like I had just stepped into Woody Allen’s Midnight In Paris! And I fell in love!!
I had almost booked us a room at a Days Inn or Best Western, as Kevin’s only priority was that we were close enough to Lagunitas Brewery so he could have his pint and drink it…literally…and not worry about the driving part. So I almost did not see this quaint little Metro Hotel just down the road from Petaluma’s Town Center. It was perfect!! The french decor just added to our french experience and next time we go…and I’m pretty sure there will be a next time…we will definitely stay there again.
Metro Front
Up Spiral
Mes Amis Room
Down Spiral
Late Night Cafe
Snow White and 7 Dwarves
Go Kart
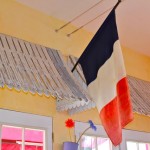
Blue White and Red
Poster of Paris Bar
Trash Can
Morning Charge
Side by Side
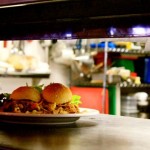
The Lagunitas Tour was also very entertaining. We could hear the boisterous laughter from the parking lot which became louder and louder and more enticing as we neared the entrance of the bar! It was full…the inside bar, the outside beer garden…pretty much every space was taken…but for a tiny corner at the end of the room. We sampled some beer while we waited for our tour…well one of us did…and then were led to where the magic happens.
What’s On
Pils Pale Ipa
Bar Food
Bar People
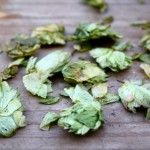
Hops
Beer Storage
Lagunitas Types
Lagunitas Types
Lagunitas Types
Little Bit Country
Cheerio
Lagunitas IPA
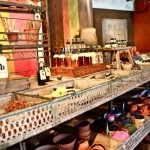
Before we left, we paid a visit to Sonoma which is another very interesting and charming town. You find anything from Cheese Shops to Hat Shops, and Pottery Shops to Restaurants.
Got Cheese?
Alley Way
Best Pottery Shop
Maybe it was because it was our first get away together with no kids in like ever…but what a marvelous weekend that was…and we both hope to return very very soon!
Chèvre (pronounced shĕv·rǝ) is French for goat and refers to any cheese made from goats milk. Fresh (not aged) chèvre is usually just referred to as chèvre.
Yesterday I was thrilled to find out that a gallon of goat’s milk makes 1 1/2lb of cheese! Well, that thrill quickly changed to panic when I realised that it only keeps for about a week!
So I set about looking for ways to preserve the cheese in any way or form, and after hours of searching, I came across this site that shows how to stretch that week to a month!!
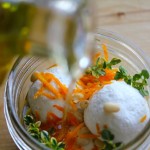
Today I decided to try the Chèvre Marinated with Pine Nuts, Thyme and Orange. I intend to try the cherry and walnut one too and a combination of sun dried tomatoes with chili and garlic might be nice! I think that would take care of my batch of cheese for the coming weeks!
Of course you don’t have to make your own Chèvre to make this recipe…store bought will do just as nicely.
Chèvre Marinated with Pine Nuts, Thyme and Orange Makes 8 ounces
Extra-virgin olive oil
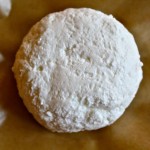
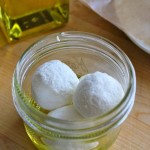
4 ounces chèvre, sliced or rolled into balls
2 tablespoons toasted pine nuts
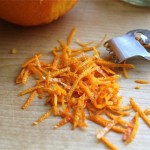
1 tablespoon thinly sliced orange zest
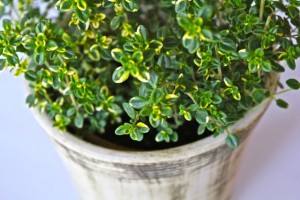
4 sprigs fresh thyme
Pour a touch of olive oil into the jar. Layer the chèvre with pine nuts and orange zest. Tuck in the thyme sprigs along the sides and add enough olive oil to cover.
4oz Chevre
Extra Virgin Olive Oil
Divide into Four 1oz Balls
2tbs Pine Nuts
Orange Zest
Sprigs of Thyme
I can’t wait to try it after it’s been marinading a while!
If you’d’ve told me last year, that not only would I be going to a Goat Farm BUT actually look forward to it, I would’ve laughed and thought Funny Farm maybe but not a goat farm! But I did!! And we went!! And then I started thinking how this came to be…
I can truly blame this series of events on the Ftira!! Because if it weren’t for the Ftira, I would not have met my dear dear friend Ivy of Merci Chocolat, who in turn would not have gotten me to try making French Cheeses! And that is how I got interested in making Goats Cheese other than Gbejniet!
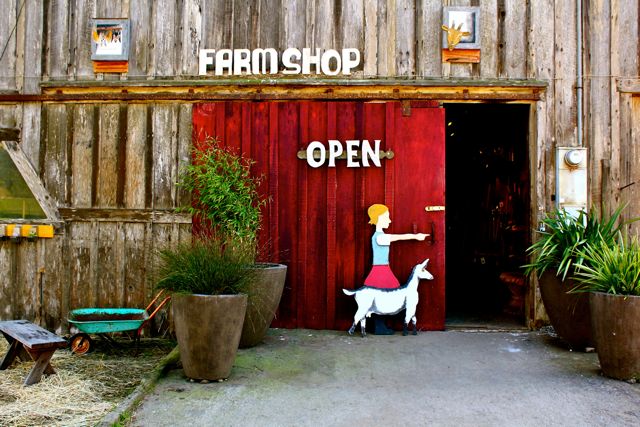
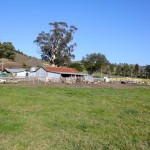
When Kevin’s boss recommended a visit to Harley Farms Goat Dairy at Pescadero, I knew we had to go and, this week, I finally booked a tour. We went there yesterday and I have to say, that even with the looong two hour windy road trip we had to take to get there, it was definitely worth it!
Farm Shop
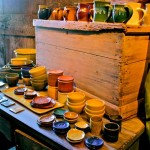
We checked in at the Shop and had a look around while we waited for the rest of the group to show up. They had all sort of merchandise for sale all goat related…from lotions to goat hair blankets to rakes and shovels and gorgeous hand made pottery!
Pottery
Lotions
Rakes and Shovels
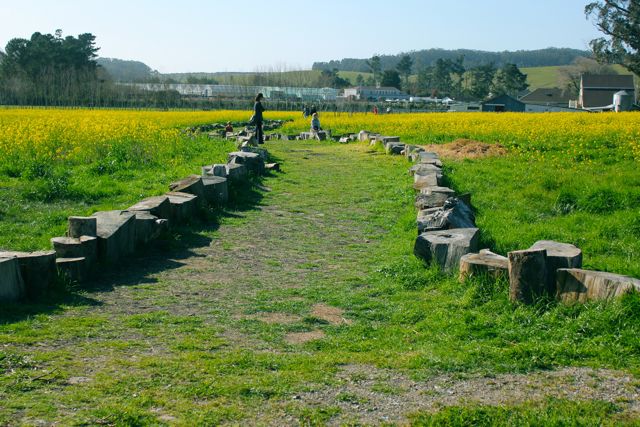
Mustard Path
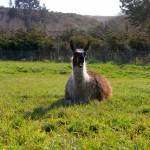
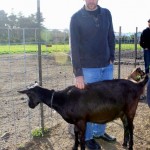
There were about twenty of us taking the tour of the farm which was led by a young and very knowledgeable girl who took us through the mustard path to the goat pen where there were about a hundred female pregnant goats just lapping up the beautiful sunshine and one very proud male goat!!! Two Llamas also roamed the vast field like kings in their castle!
Harley Farm
Llama
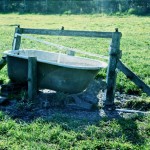
Trough
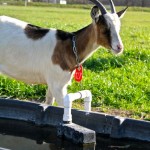
Alpine Goat
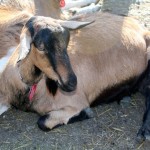
Expecting Alpine Goat
Alpine Goat
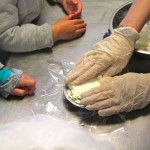
Milking Barn
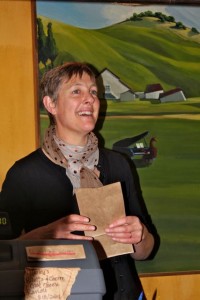
We were told the history of the farm and how Dee Harley, the owner, came to the States from Yorkshire, fell in love with the place and started making her own Goats Cheese which is sold in stores all over California. We were then taken to where they milk the goats twice a day and were told that each goat produces a gallon of milk each time they get milked. It is quickly harvested and turned to cheese and it is the freshness of the milk that results into the creamiest and delicious cheese ever.
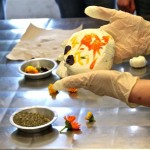
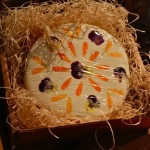
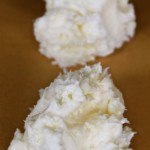
Chevre Cheese with Dried Herbs and Edible Flowers
Place Edible Flowers in Mold
Put in the Curds
Sprinkle Dried Herbs
Add Layer of Curds on Top
Cheese Ready for Tasting
Dee Harley
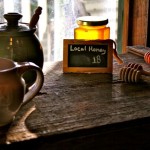
Of course, I had to ask if it was possible to purchase some fresh goats milk but was told that unfortunately this was not possible as they needed a special permit to sell. So that was the only bummer of the day but I quickly got over it when we got to see how the cheese was made and also tasted all the cheeses they had available at the store! It was pretty hard to choose my favourite because they were all so darn good but I think the Monet topped the charts.
Dee Harley Plaque
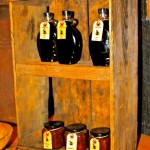
Local Honey
Syrups and Jams
Collage Collection
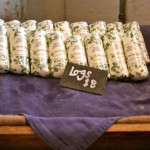
Garden Chive Logs
Parcel of Monet Chevre
So now I want to try making my own Chevre with my own herbs and my own edible flowers and dried fruit combination. And who knows…we might NEED to go back and meet the baby goats!! So stay tuned…
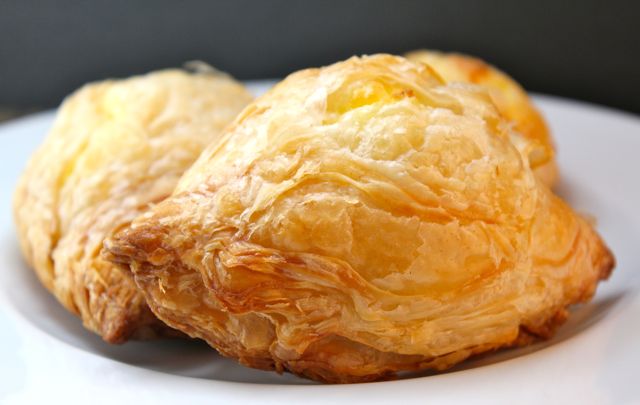
Pastizzi ta’ l-Irkotta or Pastizzi tal-Pizelli! Those are only two of the most popular fillings you will find because nowadays you may find many more types of fillings…from sweet to savoury but I still think that the original are the best! Pastizzi get a bad rap because the dough contains a little more than your average fat. Usually a basic dough has half the amount of fat as flour. The pastizzi dough has slightly more but is oh sooo worth it.
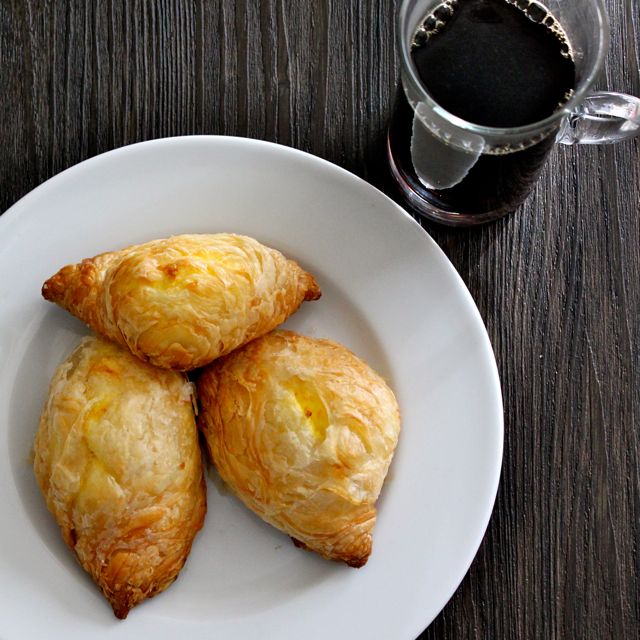
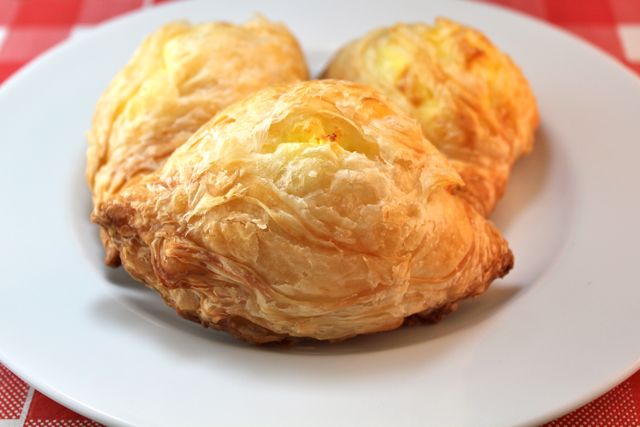
Pastizzi for Breakfast
It is also slightly more work. Well, when I say slightly, I mean a lot! And also slightly messier…ok a lot messier…but I don’t want to scare you away and really want you to try it, cause when you make it and taste it, you’re going to fall in love. There’s just nothing like that rich, crunchy but melt in your mouth pastry!! And this recipe delivers! Pastizzi are also great to freeze so you can always have some on hand. Then just pop two in the toaster oven and have them for your lazy Sunday morning breakfast!
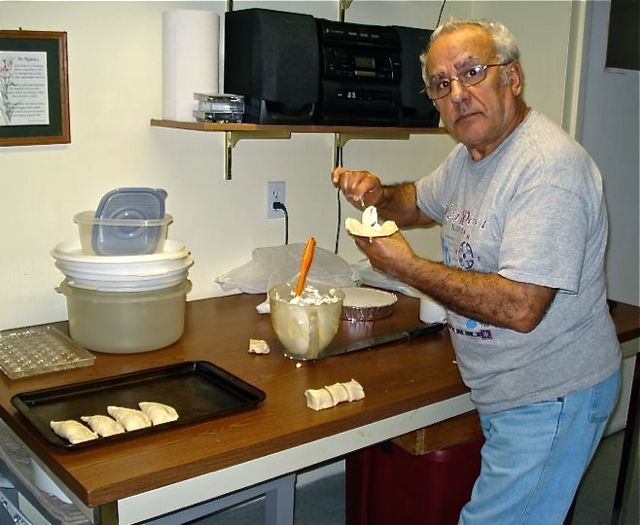
Uncle Fredu Making Pastizzi
This recipe is one of those that has been passed down to me by my relatives who had emigrated to the US in the early 60’s which means they’d been here for 30 years before I made my appearance and had all that time to finesse everything Maltese!! I have a big family here and rest assured that there’s pastizzi at every gathering and not surprising at all, it would be the pastizzi that would be the first to disappear.
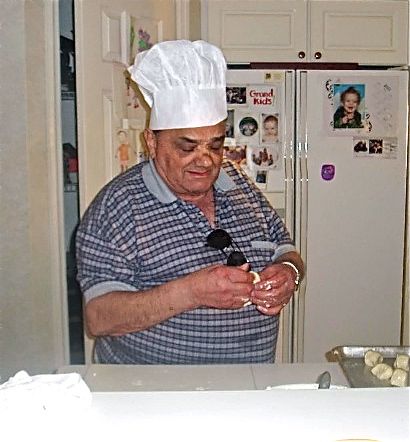
Uncle Alex Making Pastizzi
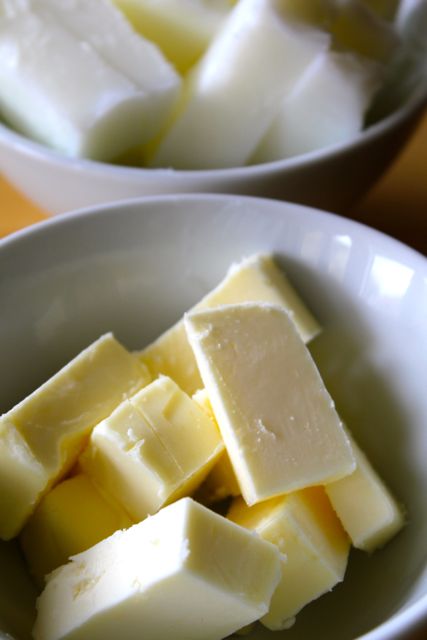
Pastizzi call for a mixture of butter and lard OR crisco. There was a time when just the word LARD would make me cringe and seeing anyone using it in cooking would immediately make me lose my appetite. But here is an article I read recently that made me think differently.
Dough
1lb all purpose flour
1/4 cup oil
pinch of salt
9oz water
9oz lard or crisco
3oz butter
1lb Flour
1/4 Cup Oil
9oz Water
Mix Butter and Lard
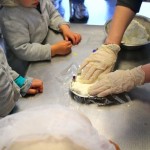
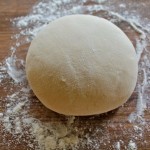
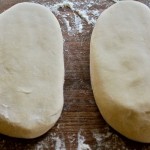
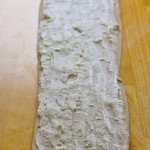
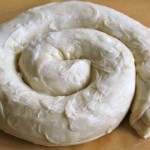
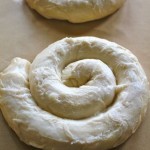
Make the dough by putting the dry ingredients in the bowl of a stand mixer. Add the oil and water and let it knead for about 12 mins until you have a nice smooth dough. Let it rest for about half an hour. Cut the dough in half. Open one of the halves into a long strip as shown in the photo beneath.
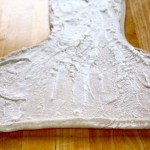
Take both fats and mix them together. Divide in two. Take one part of the mixed fat and slather it all over the rolled out dough.
From the end closest to you, start stretching and rolling while widening the dough as shown. Keep doing this until you reach the other end. You’ll end up with a long rope like piece of dough.
Take one end and roll it into a spiral shape. Put some fat over the top, cover and store in the fridge until ready to use. Do the same with the other piece of dough and remaining fat.
Dough Resting
Divide Dough in Two
Roll Out One Dough
Divide Fat In Two Equal Parts
Slather One Part Fat on Dough
Stretch and Roll
Rolled Up Dough
Spiraled Dough
Two Sets of Dough
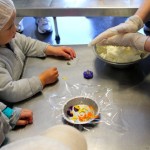
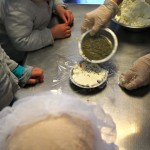
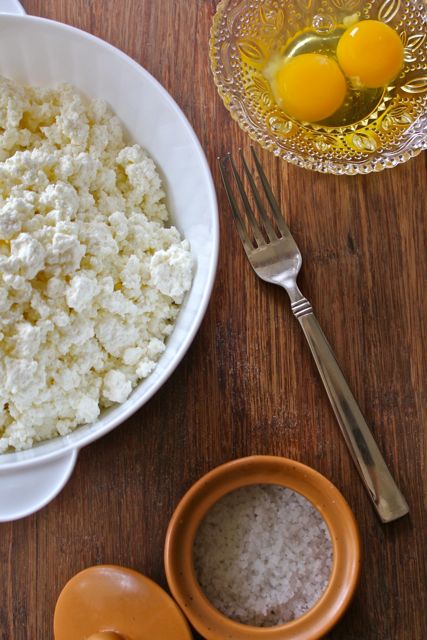
Ricotta Filling
Filling
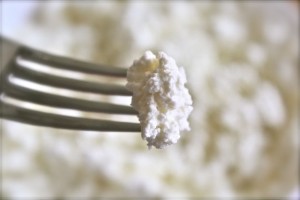
Make the pastizzi filling by mixing 1lb ricotta, 2 eggs and pinch of salt together.
Forming Pastizzi
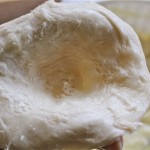
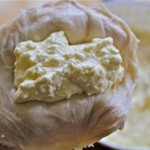
Take the end of the spiral shaped dough and cut about two inches off the end. Flatten it with your hand as you turn it round and round between your fingers so you can see the ridges of the dough forming. Form it into a circle about 3-4 inches in diameter. Put a dollop of ricotta in the middle.
Cut 2″ Thick PIeces
Form Round Disc
Put Dollop Of Ricotta
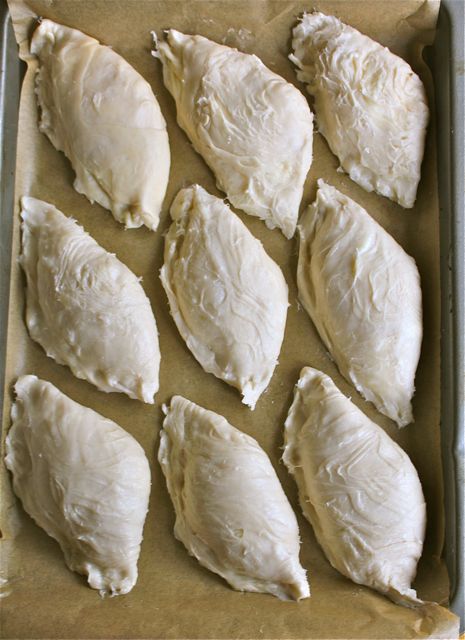
Ready for Baking or Freezing.
Fold over and seal and place on a greased dish or on a silpat. Do this until you’ve used up all the dough and ricotta.
You can freeze them at this point. Or you can bake them in a 375 degree oven for about 20-30 mins until golden brown.
As with everything, moderation is the key. Pastizzi are not the the healthiest of foods, but then neither are croissants or eclairs and it would be a shame if we couldn’t have them once in a while, so go on…have one…you know you want to.
It’s the easiest of cheeses to make!! It’s fast, easy and you don’t need any special equipment. And I guarantee that once you taste your home made version, you’ll never go back to store bought again. You probably ask why would I make it when it’s so easily available. And I will say to just try it once…and then you’ll experience the answer the way I did!
This recipe was shared with me by my friend Rose who is an amazing cook and extremely talented baker! When I saw the excitement in her eyes as she was telling me that she’d just made home made ricotta for the first time and how good it was, I knew I had to try it too.
Ricotta, which means “re-cooked” in Italian, is traditionally made from the whey left over from cheese making but this delicious ricotta is made from whole cow’s milk. You can use lemon juice, vinegar or citric acid. In this recipe, we’re using citric acid.
What you need is
1 gallon whole or low fat milk
1 cup heavy whipping cream
1 tsp salt
1 tsp citric acid
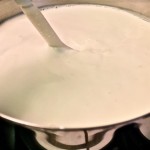
As with any cheese you make at home, you first need to sterilise all the equipment.
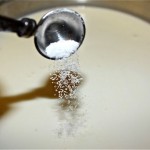
Dissolve the citric acid powder in a 1/4 cup cool water.
In a large stainless-steel pot, combine the milk, cream, salt and citric acid mixture.
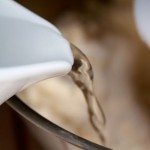
Warm the milk and cream over medium heat for about 30 mins until a candy thermometer registers 198 degrees F.
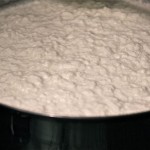
Turn off the heat and leave it in the pot for at least 2 hours.
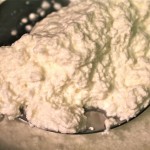
Using a skimmer, ladle curds carefully into a cheesecloth lined strainer set in a bowl to catch the whey and drain for two hours or less if you like it creamy.
Yields about 2lb 4oz of ricotta.
And just like that, you have ricotta that is much much nicer than what you’ll buy in the stores! I know you’ll like it!
I didn’t know I missed gbejniet until my dear friend Mary shared some with me a few years ago.
Mary was the first Maltese person I met when we first moved to the Bay Area. In 1996, the internet was still in the early stages and there was hardly any information or even links to Malta. The only source of interest at the time was a “chat room” for Maltese people.
Feeling very homesick, I left a message in this chat room to see if there were any other Maltese people in the area. A few days later I found a message from Mary and the best thing was that she lived only about half hour away from me. We soon realised that her husband Tom used to play soccer with my uncle Guz when they were kids!! That’s how small Malta is.
I’ve known Mary now over 15 years and we chat and visit regularly! We share recipes and I love going over her house to to catch up and visit her lovely garden which is like stepping into a Maltese Giardina with caper bushes and prickly pears. I think the only thing that’s missing is a Bambinella Tree…I’m still hoping!
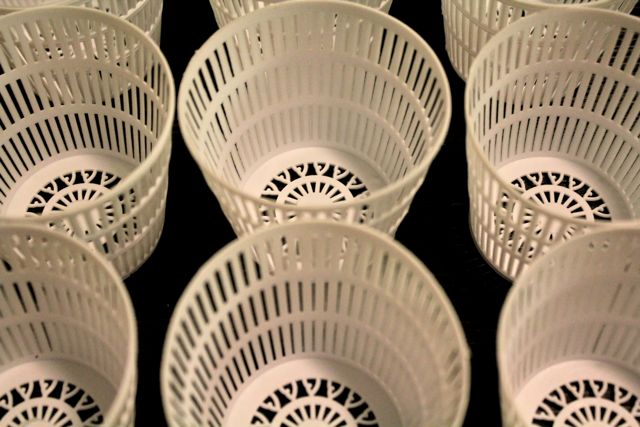
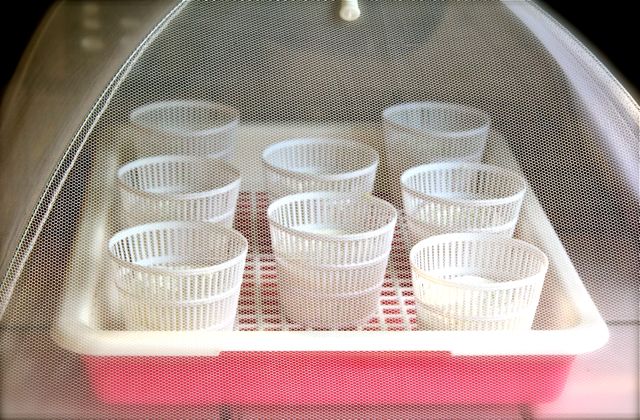
Cheese Baskets (Qwieleb)
So this is a recipe she so graciously shared with me. I’ve tried to tweak it a few times. I tried adding yoghurt and once I tried adding cream. I’ve made it with whole milk and with goats milk. Sheep’s milk would be ideal…but I gave up trying to find some to buy a long time ago.
You do need these cute little gbejniet baskets called Qwieleb. I believe there are a few online websites who carry them. They’re 3 inches in diameter and 2 1/2 inches in height.
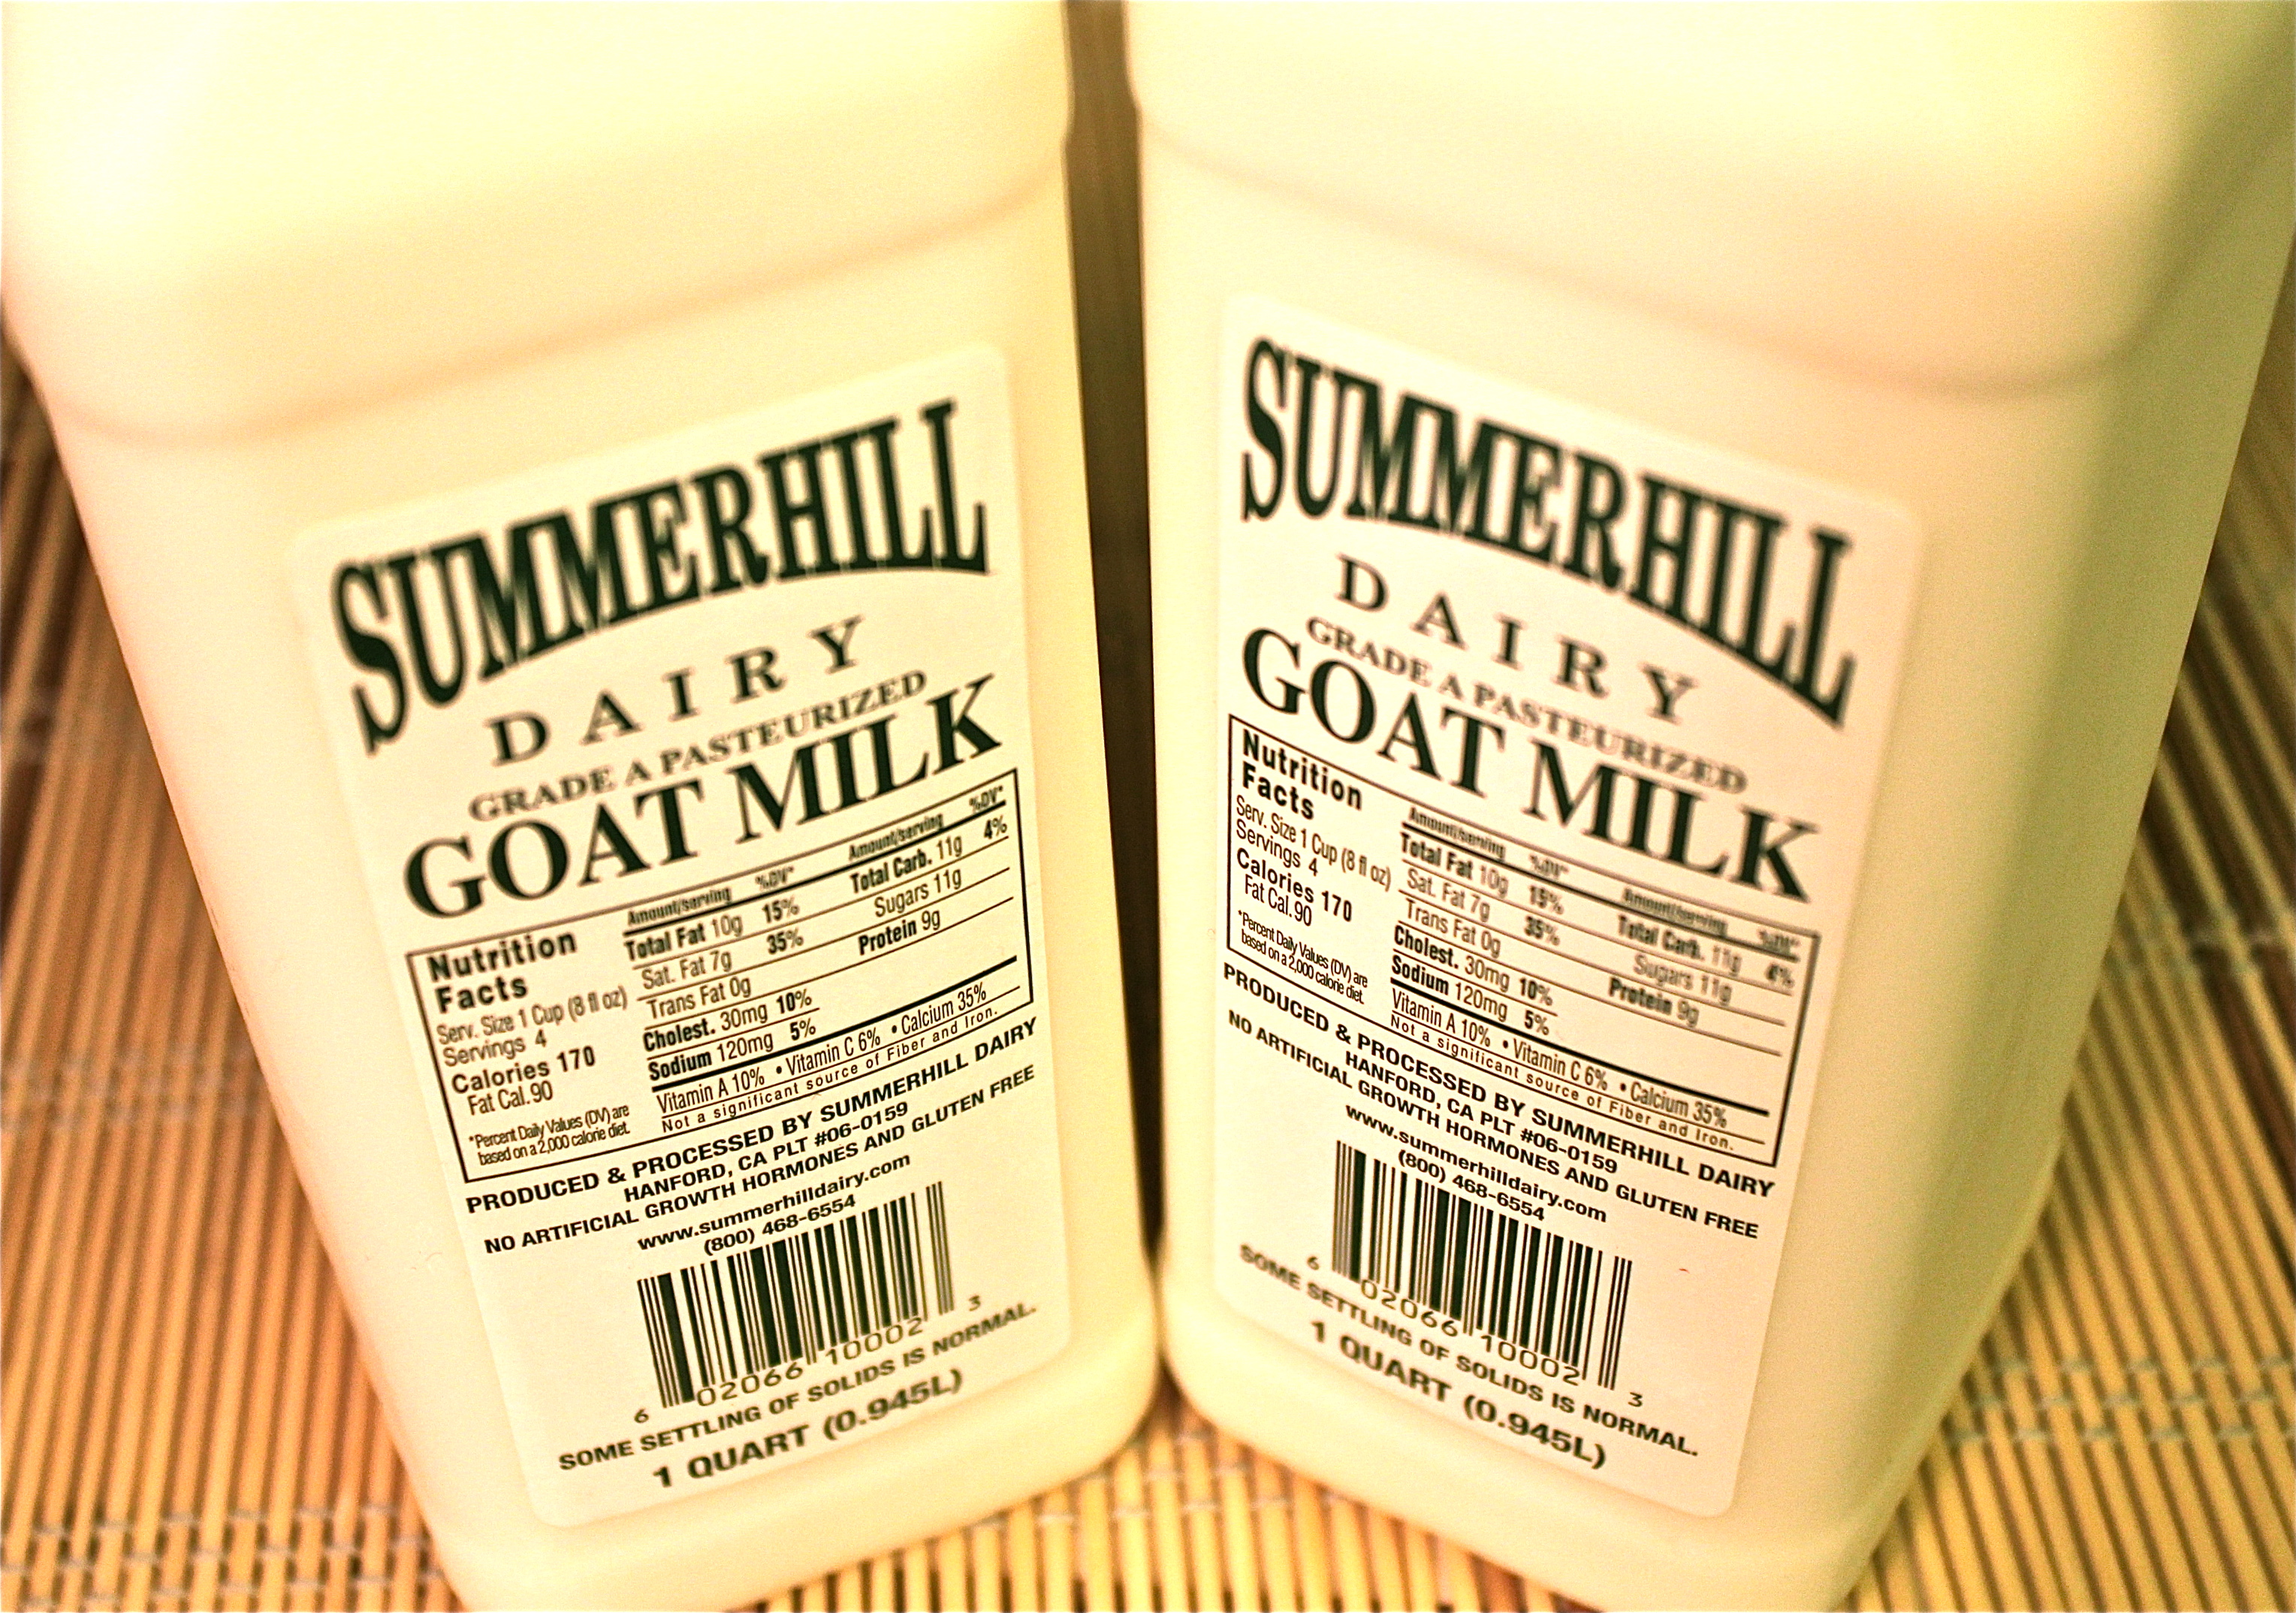
It is very important that you do NOT use ultra pasteurised milk or homogenised milk when you are making gbejniet. Ultra-pasteurization heats the milk to 280 degrees, effectively killing any micro-organisms in the milk. You want these microbes in the milk in order for the cheese to curdle properly and for the final cheese product to actually have flavor.
2 litres of Goat’s Milk
This recipe will yield about 8 Gbejniet.
Ingredients
2 litres of Goat’s Milk
1 cup low fat milk powder
2 Rennet Junkets
2 tbsp water
salt
Directions
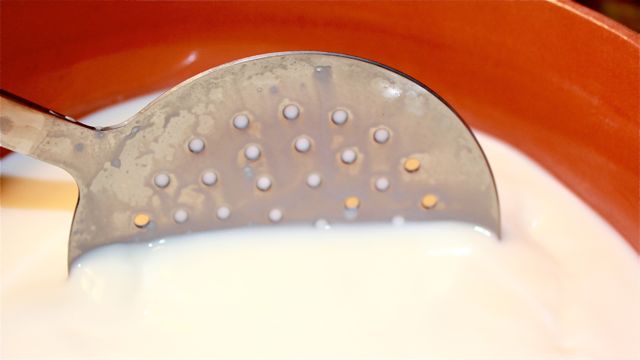
First you need to sterilise all equipment.
Heat the milk with the milk powder in a non reactive pot on low and stir until the milk powder is dissolved.
Stir briefly
Add 2 tblsp of water to the rennets and stir until dissolved and set aside.
When the milk temperature reaches 98 degrees, take it off the heat.
Add the rennet tablet mixture to the milk and stir briefly.
Cover and let set at room temperature for about 3 hours.
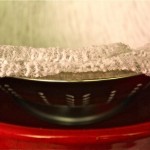
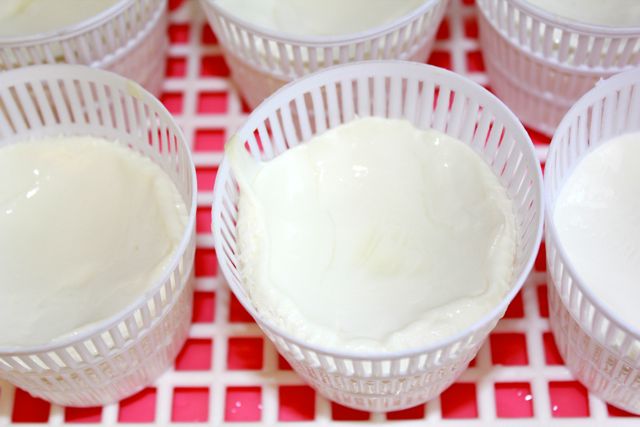
In the meantime, prepare a draining container with the baskets on top.
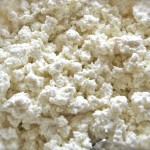
Ladle the curd into the baskets and let drain overnight.
Ladle curds into baskets
(You can pour the collected whey in a glass container and store in the refrigerator. You can use this instead of the water for the ftira and maltese bread.)
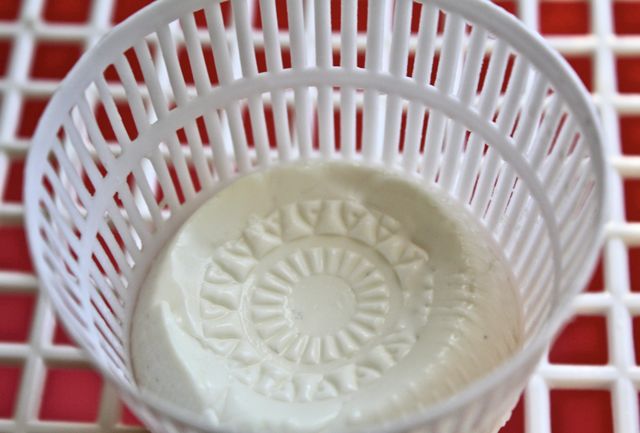
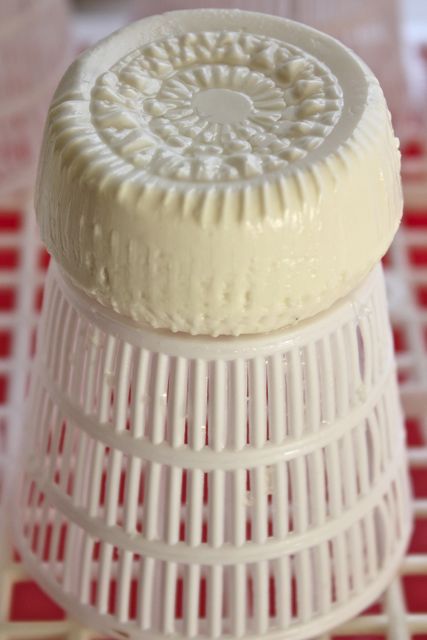
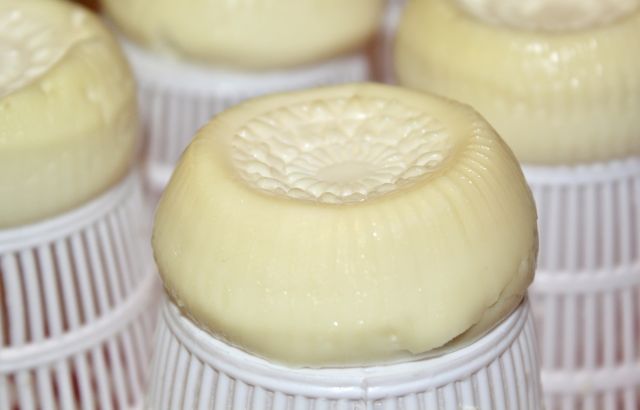
Next morning, flip the cheese and put them back in the baskets and let them continue to drain overnight.
Flip the cheese
Cover with a net.
Cover with net
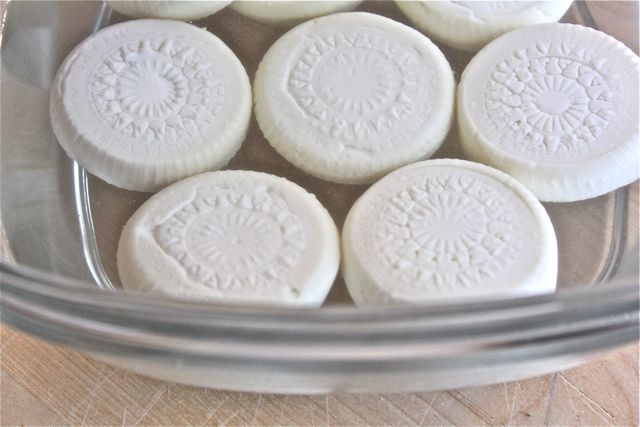
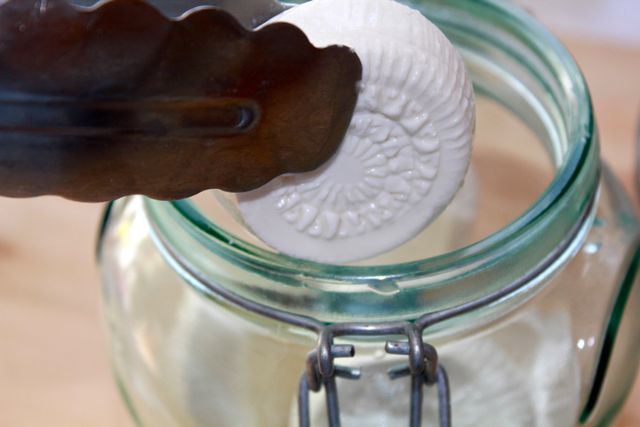
Next morning, making sure that they’re strong enough to handle, take them out of the baskets and sprinkle about 1/4 tsp salt all over and around each gbejna and let drip for a few hours more. Make sure to always keep them covered in case of bugs.
If you like them dried and peppered…you can do this at this stage. Grind some pepper in the plate and pat each gbejna into the pepper and cover all over and let them dry for another day (always depending on how hot and dry the day is…please use your judgement).
I don’t like a lot of pepper, so I let them air dry without the pepper. That’s the good thing about a recipe…you can adjust and substitute to your liking.
Here they are drying before being soaked into the vinegar.
Air dry
Here they’ve been dried for a couple of days indoors.
After 2 days of drying
I then fill a bowl with pickle vinegar and let them soak for 2-3 hours. You can use a vinegar of your choice.
Soak in vinegar
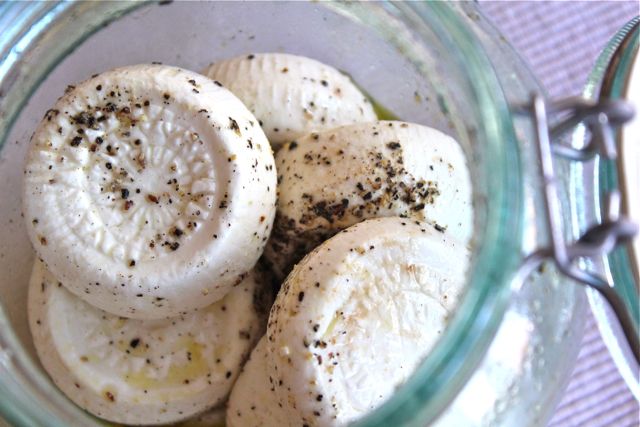
Store them in a sterilised jar. I add about 2 tbsp of vinegar and olive oil and a bit more pepper. Some people cover them in vinegar.
Store in sterilized jar
I like to store them in the fridge and give them a good shake every now and again.
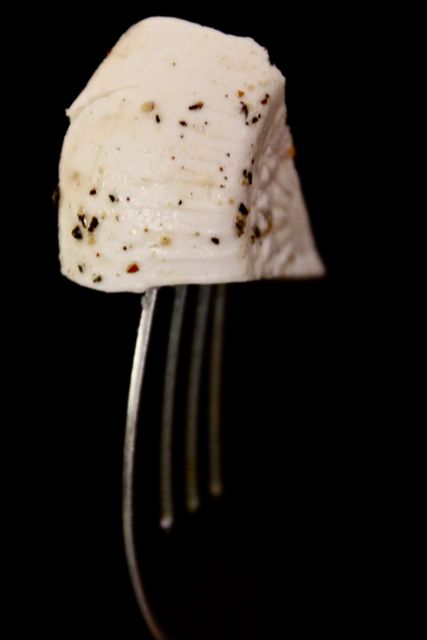
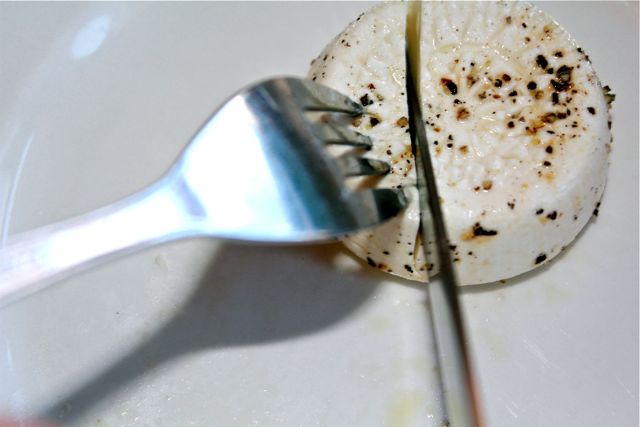
The great thing about gbejniet is that they are tasty at any stage. They are delicious fresh after you flip them. They go well with toasted bread and butter or in Soppa ta’ l-Armla (Widow’s Soup). Personally I like them after they’d been dried and soaked in vinegar. Love them on my ftira with tomato paste and olive oil!
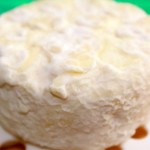
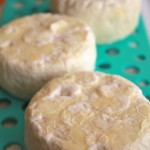
Saint-Marcellin is a soft French cheese made from cow’s milk.
It’s quite smelly…
…but it’s delicious!
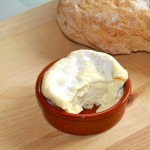
Valençay is an unpasteurised goats-milk cheese. Its rustic blue-grey colour is made by the natural moulds that form its rind, darkened with a dusting of charcoal.