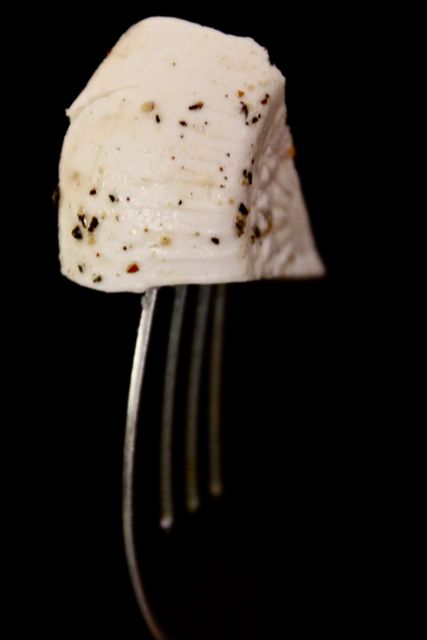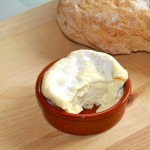
I still had half a pound of goat cheese in the fridge waiting to be magically turned into some kind of snack/lunch/salad/dinner type thingie.
I love having prepared frozen dinners ready for when I’m either are too lazy to cook or maybe running late or when I just can’t even be bothered to call for pizza!
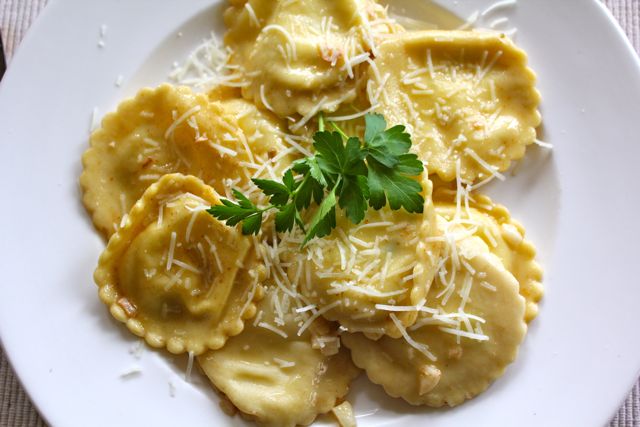
Goat Cheese Ravioli! Perfect answer to my dilemma!
How hard could it be to find a recipe for goat cheese filled ravioli?
Oh, there are tons of fancy ones…from heart shaped ravioli filled with goat cheese and beets or butternut squash or pumpkin but I was hoping for something simpler. Something that if I offered it to my kids, I won’t be met with the same wrinkly nose I used to give my mum when she offered stuffed cabbage for dinner!
I was just about to give up my search, when I saw this recipe which was just what I was looking for. I used my own fresh pasta dough recipe and made some minor adjustments with the filling to cater for my family’s taste.
This recipe makes about two dozen.
Dough
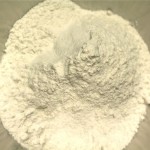
2 cups all purpose flour
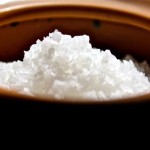
1tsp salt
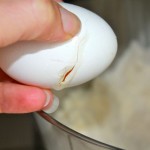
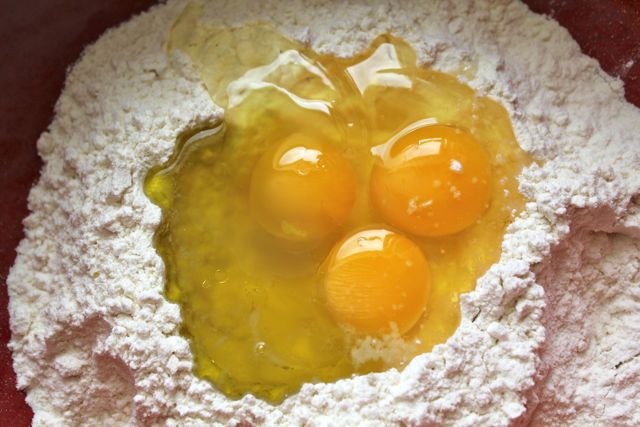
3 large eggs
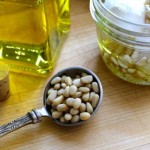
1tbsp extra virgin oil
semolina for dusting
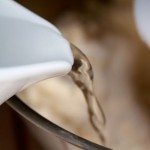
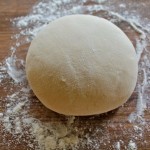
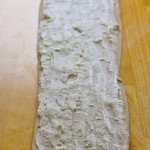
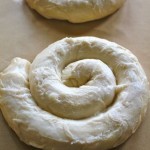
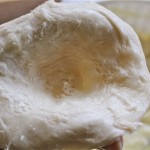
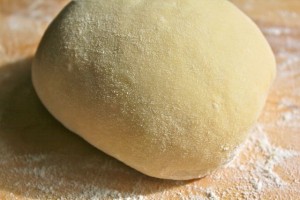
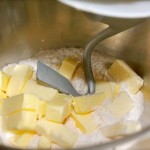
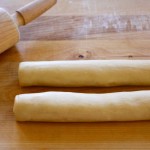
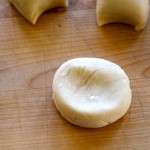
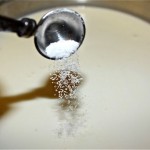
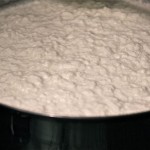
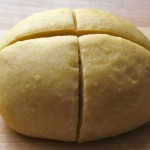
Combine the flour and salt on a flat work surface; shape into a mound and make a well in the center. Add the eggs and 1 tablespoon of the olive oil to the well and lightly beat with a fork. Gradually draw in the flour from the inside wall of the well in a circular motion. Use 1 hand for mixing and the other to protect the outer wall. Continue to incorporate all the flour until it forms a ball. Cover and let rest for about a half an hour.
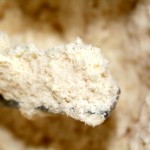
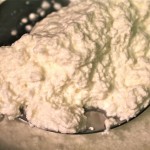
Filling
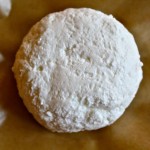
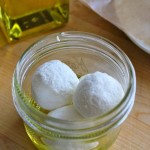
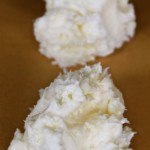
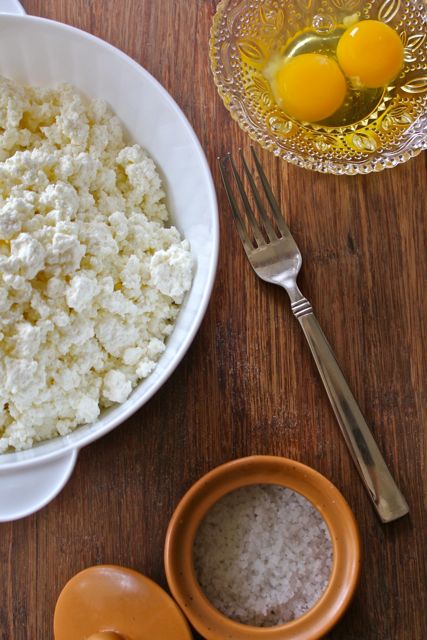
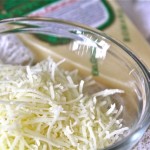
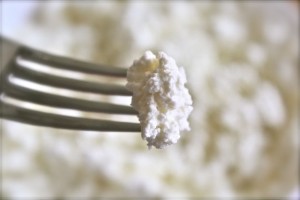
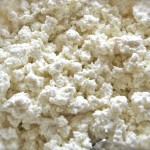
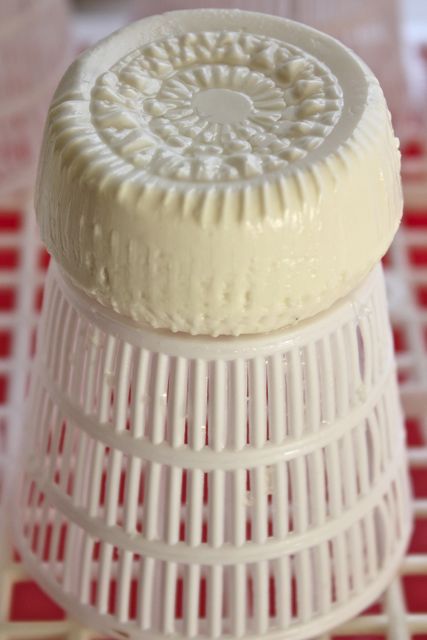
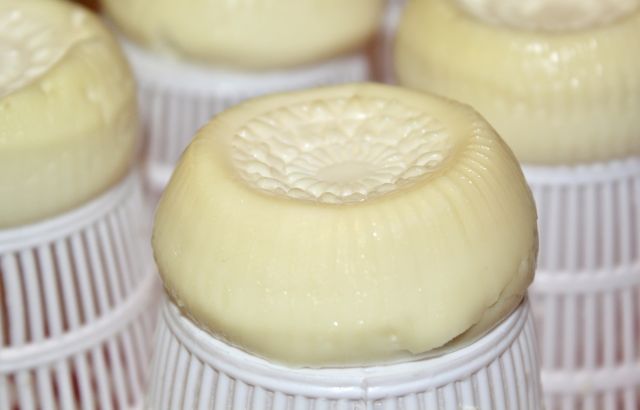
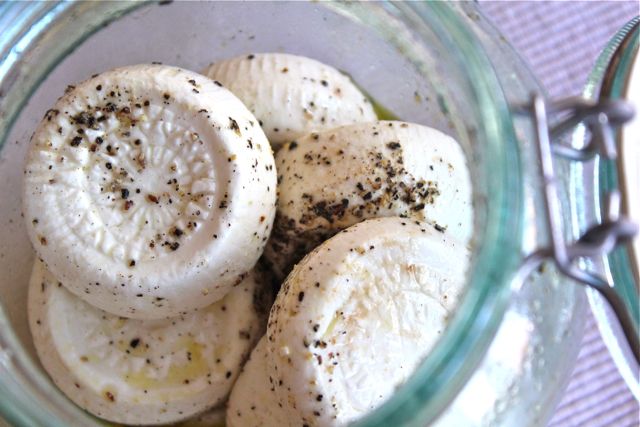
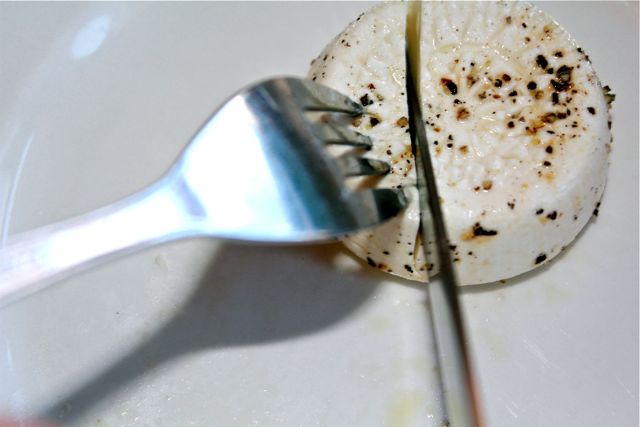
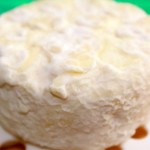
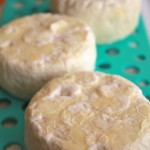
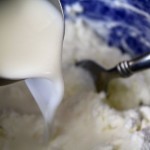
6 oz. fresh goat cheese
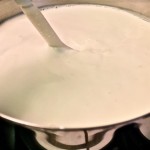
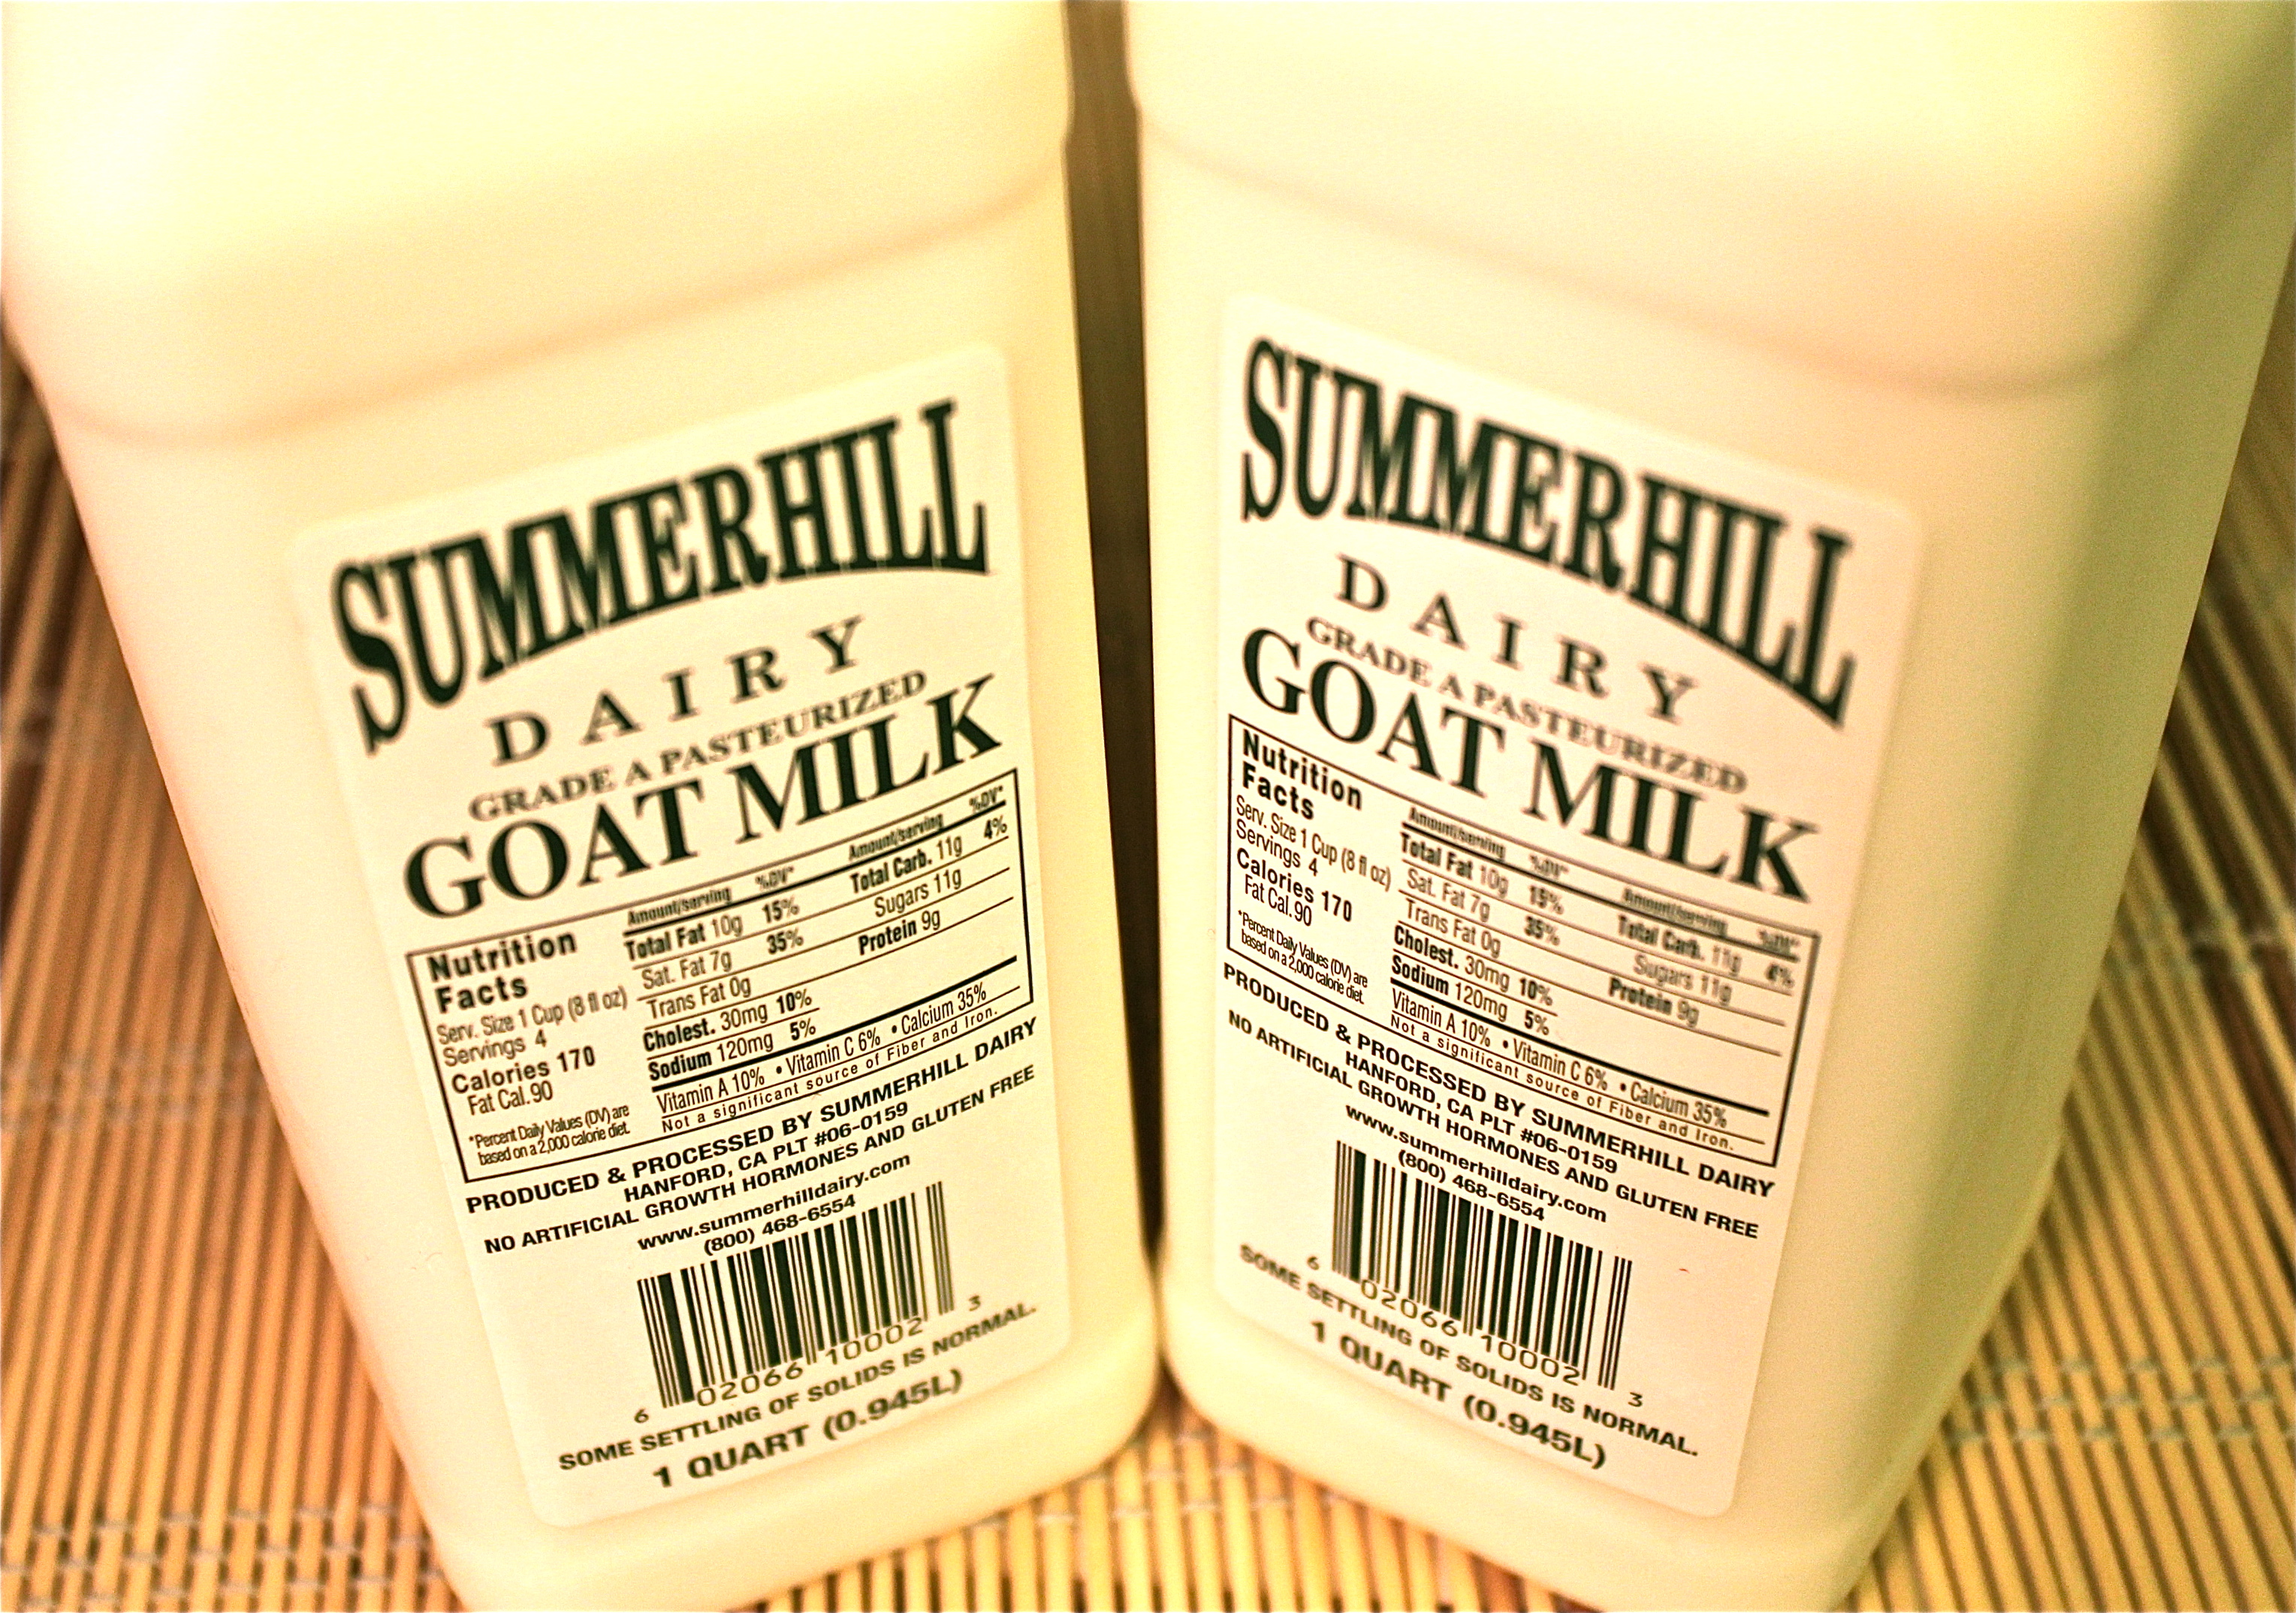
1/2 cup whole milk
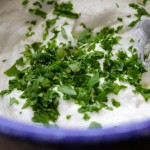
1 tablespoon Italian parsley, chopped (plus more for garnish)
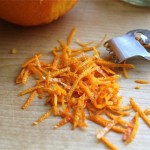
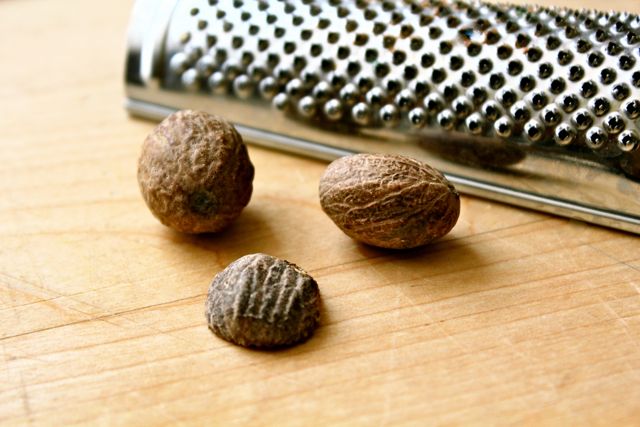
1/2 teaspoon grated nutmeg
1/4 cup pecorino romano
salt and fresh ground black pepper

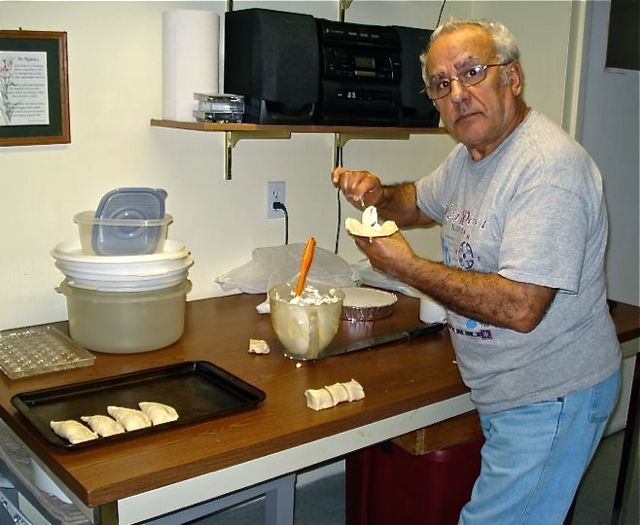
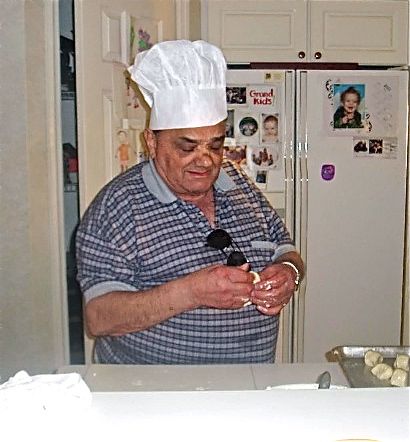
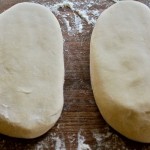
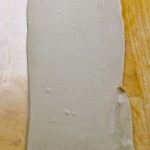
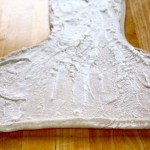
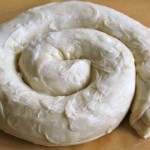
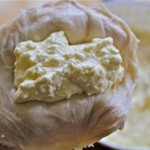
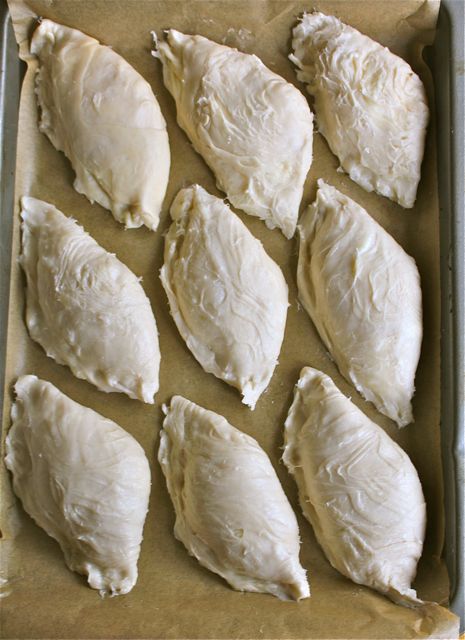
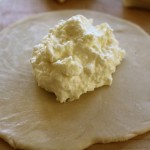
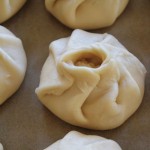
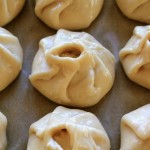
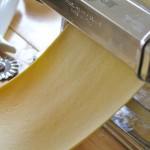
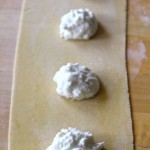
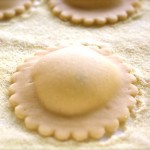
Cut dough into four pieces. Take one piece and pass it through the pasta machine on no.1 setting a few times. Then on 2nd, then 3rd, then 4th, then 5th. Cut in half. Place a tbsp of filling about an inch apart on one piece of dough. Brush surface with a bit of water or egg wash, around the filling. Take the other piece of dough and place on top. Secure around the filling and using a ravioli cutter or knife, cut into ravioli forms. Circles or squares or wherever your imagination takes you.

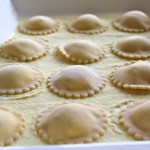
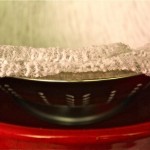
Cook the ravioli in plenty of boiling salted water for 4 minutes; they’ll float to the top when ready, so be careful not to overcrowd the pot. Lift the ravioli from water with a large strainer or slotted spoon.
Set aside
Sauce
3 tablespoons olive oil
1 tablespoon butter
1/4 cup dry white wine
3-4 cloves of garlic, chopped finely
Melt butter in a saucepan. Add oil. Fry the garlic.
Once all that is bubbling (without burning – turn it down if it is!) and the pasta has cooked in boiling water for 3-4 minutes, drain the pasta and then add it to the saute pan.
Once the pasta is coated with the sauce in the pan, add 1/2 cup dry white wine and simmer for a couple more minutes, stirring occationally.
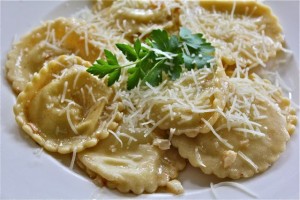
Remove the pasta from the heat. Place on the plate.
Add parmesan and chopped parsley and serve!
Makes an ideal first course meal when served three on a plate!
I have tried plain goat cheese and a combination of goat cheese and ricotta which are both very good. Would be very happy to hear your ideas!