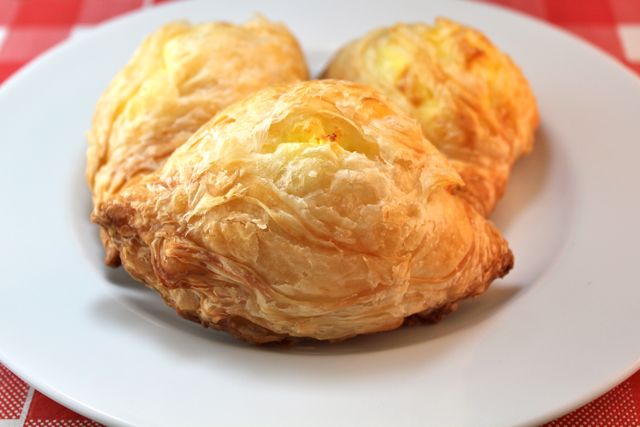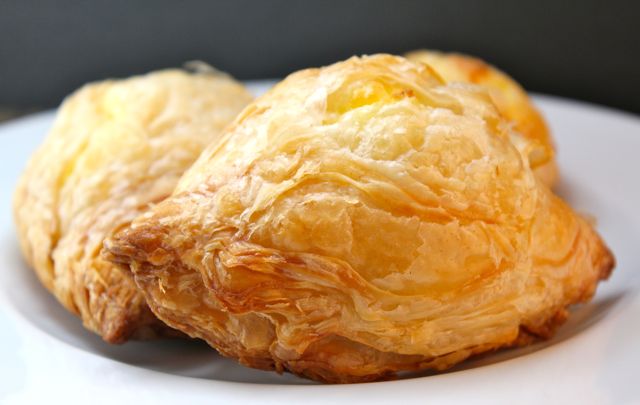
Pastizzi ta’ l-Irkotta or Pastizzi tal-Pizelli! Those are only two of the most popular fillings you will find because nowadays you may find many more types of fillings…from sweet to savoury but I still think that the original are the best! Pastizzi get a bad rap because the dough contains a little more than your average fat. Usually a basic dough has half the amount of fat as flour. The pastizzi dough has slightly more but is oh sooo worth it.
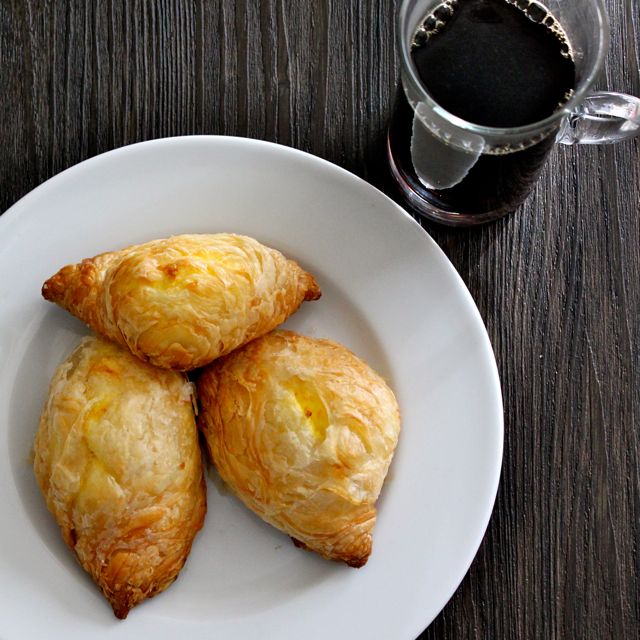
It is also slightly more work. Well, when I say slightly, I mean a lot! And also slightly messier…ok a lot messier…but I don’t want to scare you away and really want you to try it, cause when you make it and taste it, you’re going to fall in love. There’s just nothing like that rich, crunchy but melt in your mouth pastry!! And this recipe delivers! Pastizzi are also great to freeze so you can always have some on hand. Then just pop two in the toaster oven and have them for your lazy Sunday morning breakfast!
This recipe is one of those that has been passed down to me by my relatives who had emigrated to the US in the early 60’s which means they’d been here for 30 years before I made my appearance and had all that time to finesse everything Maltese!! I have a big family here and rest assured that there’s pastizzi at every gathering and not surprising at all, it would be the pastizzi that would be the first to disappear.
Pastizzi call for a mixture of butter and lard OR crisco. There was a time when just the word LARD would make me cringe and seeing anyone using it in cooking would immediately make me lose my appetite. But here is an article I read recently that made me think differently.
Dough
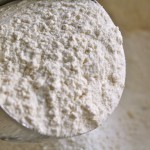
- 1lb all purpose flour
- 1/4 cup oil
- pinch of salt
- 9oz water
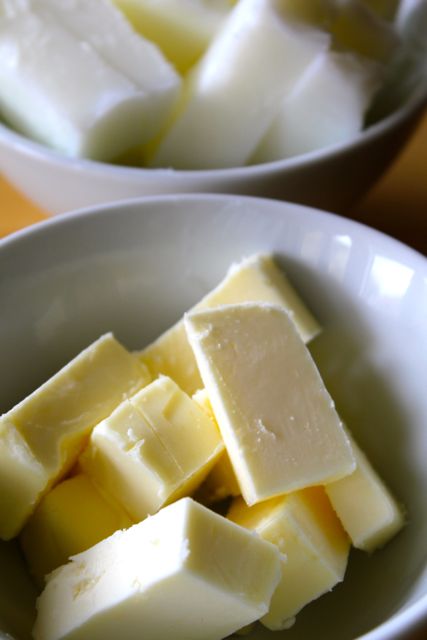
- 9oz lard or crisco
- 3oz butter

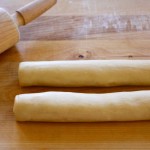
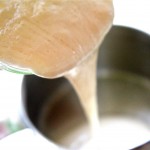
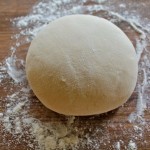
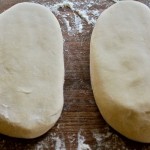
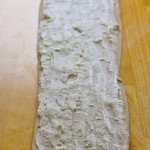
Make the dough by putting the dry ingredients in the bowl of a stand mixer. Add the oil and water and let it knead for about 12 mins until you have a nice smooth dough. Let it rest for about half an hour. Cut the dough in half. Open one of the halves into a long strip as shown in the photo beneath.
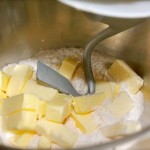
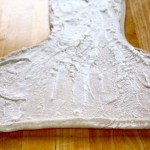
Take both fats and mix them together. Divide in two. Take one part of the mixed fat and slather it all over the rolled out dough.
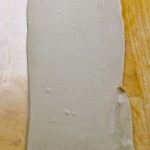
From the end closest to you, start stretching and rolling while widening the dough as shown. Keep doing this until you reach the other end. You’ll end up with a long rope like piece of dough.
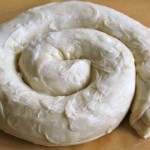
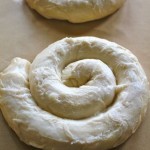
Take one end and roll it into a spiral shape. Put some fat over the top, cover and store in the fridge until ready to use. Do the same with the other piece of dough and remaining fat.

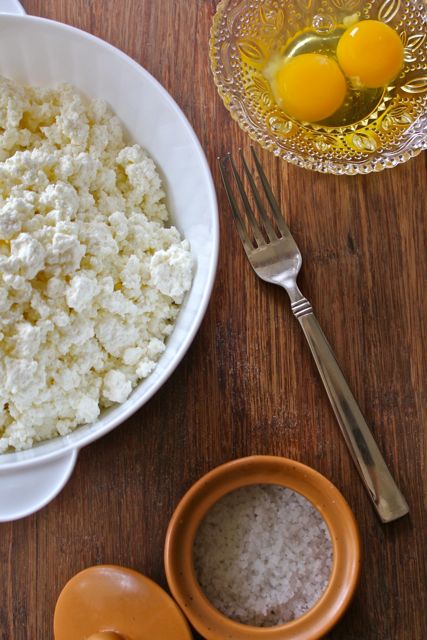
Filling
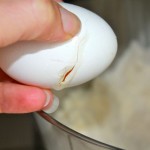
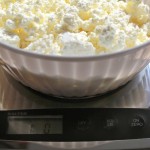
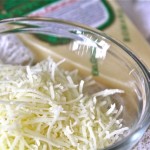
Make the pastizzi filling by mixing 1lb ricotta, 2 eggs and pinch of salt together.
Forming Pastizzi
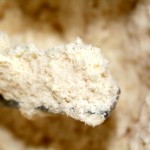
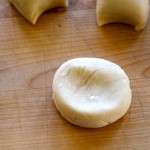
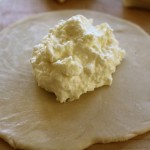
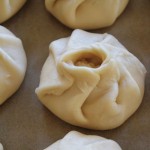
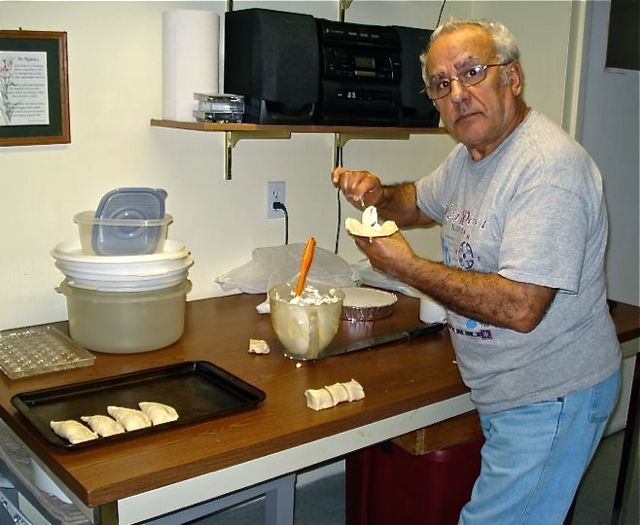
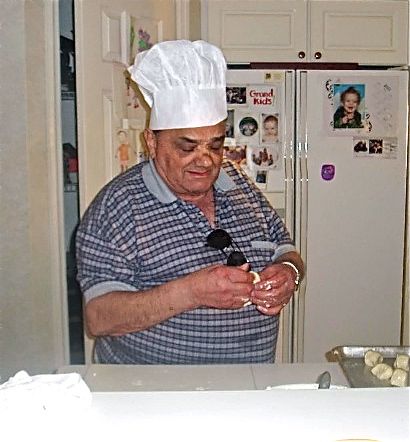
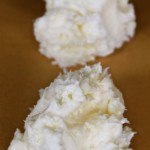
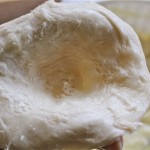
Take the end of the spiral shaped dough and cut about two inches off the end. Flatten it with your hand as you turn it round and round between your fingers so you can see the ridges of the dough forming. Form it into a circle about 3-4 inches in diameter. Put a dollop of ricotta in the middle.

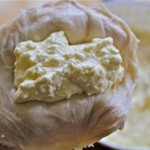
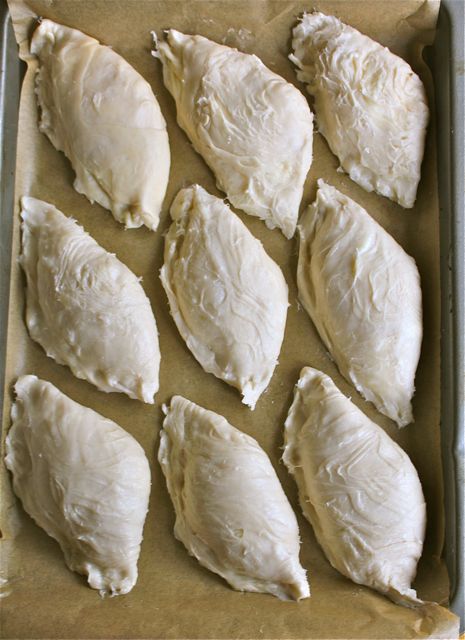
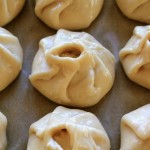
Fold over and seal and place on a greased dish or on a silpat. Do this until you’ve used up all the dough and ricotta.
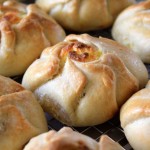
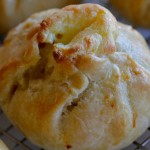
You can freeze them at this point. Or you can bake them in a 375 degree oven for about 20-30 mins until golden brown.
As with everything, moderation is the key. Pastizzi are not the the healthiest of foods, but then neither are croissants or eclairs and it would be a shame if we couldn’t have them once in a while, so go on…have one…you know you want to.